
Time to cut the fabric! For many new quilters (and some more experienced ones), cutting the fabric is the scariest part. What if I mess up, you might ask yourself. Well, you might. I certainly have. But what we have to remember is this is just fabric we are cutting. A mistake on that level is not the same as when I was working as a nurse and the mistakes we could make there. Fabric is replaceable, but my fear of making mistakes is why I always try to purchase a bit more fabric than I really need. This way if I do make a mistake, it’s usually fixable.
This video shows you how I start cutting the fabric.
You can also watch part 1 and part 2 if you missed them or want to review them.
Ruler or mat for measuring when cutting the fabric?
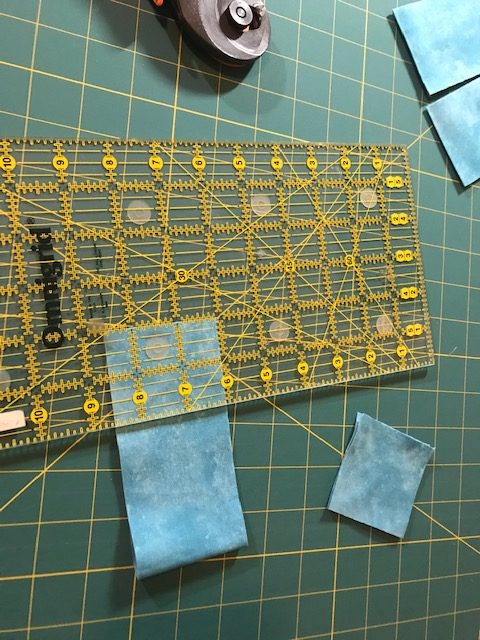
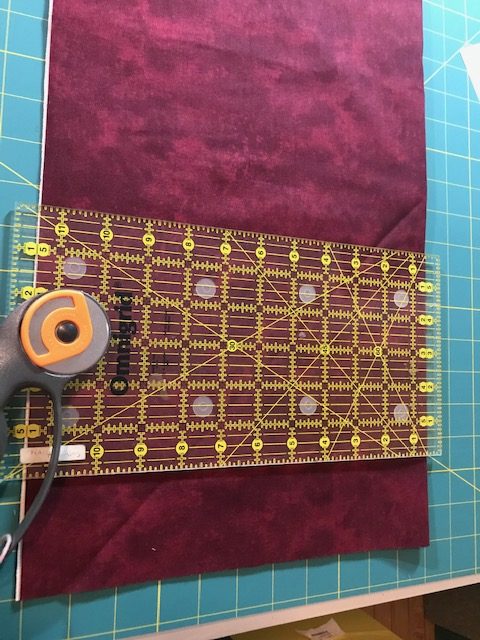
Many quilters say not to use a mat for measuring because the measurements may be off a bit. There are also some brands of rulers that some quilters won’t use for the same reason. I don’t care which I use – ruler or mat – because in my opinion, as long as you’re consistent, it’s fine. This means you can’t measure some blocks or parts of blocks with a ruler and the rest with the mat. If you’re cutting with the mat, cut all fabric with the mat and ditto with the ruler. In this video, I’m using the mat.
Watch your positioning
It can be tempting to spread out all over your table and reach as far as you can. Don’t. Seriously, don’t. You should always be in a comfortable body position and the farther away from your body that you get with your rotary cutter or scissors, the worse it is for your body and the higher the chance you make a mistake with your cutter. Make sure you don’t reach farther than you can without effort.
Layering the fabric
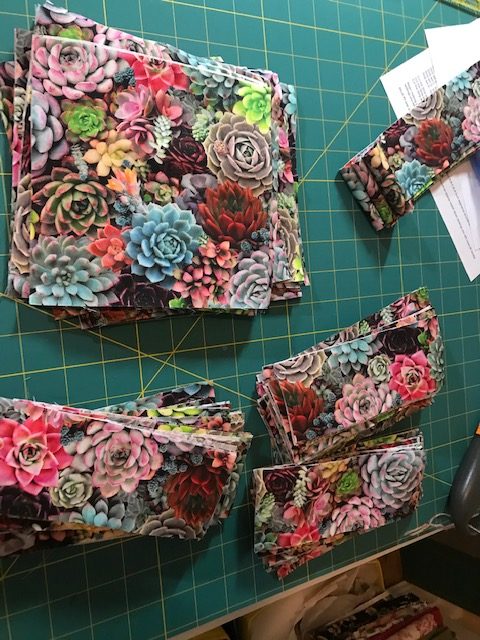
For the sake of speed, I often cut four, maybe six, layers at a time. Keep in mind, this is 100% quilting cotton. If it was a thicker fabric, like minky, then I wouldn’t layer it. You have to be able to cut through cleanly without putting extra pressure on your cutter. I also have an Accuquilt Go cutter. This is a small hand-cranked machine that allows you to cut precise pieces, up to 6 layers (cotton) at a time. I have the blades for some sizes of strips and a few other shapes. There’s also a larger battery operated device.
Your rotary cutter
Make sure your rotary cutter blades are sharp. Dull blades make it harder to cut and can cause serious accidents. It’s the same thing as kitchen knives – dull knives are more dangerous that sharp ones.
How can you tell if you blade needs to be changed? First, you’ll be using more effort than you should be using as you press down to cut. If there are any nicks in the blade, you’ll not cut through all the threads in the fabric, leaving pieces attached here and there along the cut. Once you change your blade, you will realize how much effort you had been using before.
One final safety rule: Always, always, always close your cutter as soon as you’ve made your cut. Don’t put it down open, don’t hold it open because you’re going to use it again. Open cutters on the table can be grabbed the wrong way. They can also fall off the table and hit your leg or foot. If you’re holding the open cutter, you could move in such a way that the cutter hits your arm or hand. If you get in the habit of always closing the cutter as soon as you’re done, this lessens the chance of a potentially very serious injury.
Stay organized
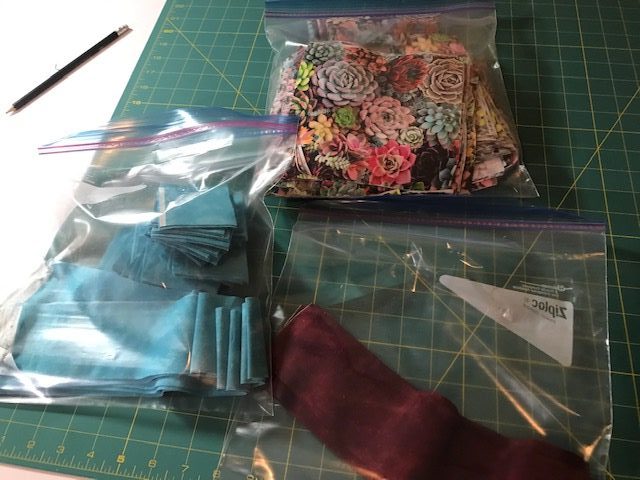
Some of my friends will laugh when they see that I wrote this, but stay organized. I am not an organized person at all, so it makes quilting more difficult than it should be at times. It’s when I am organized that the projects go so much more smoothly.
After I cut the fabric, I put them in plastic bags. If there are many pieces, I will number each pile of pieces and note the numbers on the pattern. For example, if the pattern says:
Cut 10 5-inch squares of blue fabric
Cut 10 6-inch squares of blue fabric
Cut 15 2.5-inch wide strips of red fabric
Cut 15 6-inch squares of red fabric
I would write on the bag A for the first one, B for the second, and so on, and then mark those notes on the pattern itself.
Cut 10 5-inch squares of blue fabric. – A
Cut 10 6-inch squares of blue fabric. – B
Cut 15 2.5-inch wide strips of red fabric. – C
Cut 15 6-inch squares of red fabric. – D
Now that all the fabric is cut out – it’s time to start sewing! Stay tuned for part 4.