
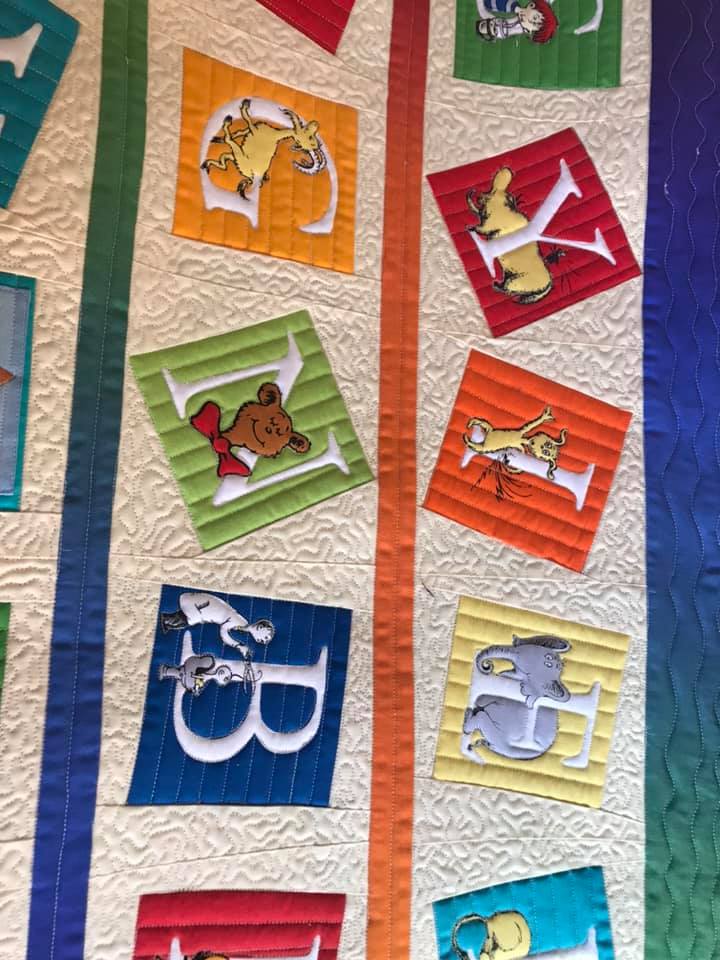
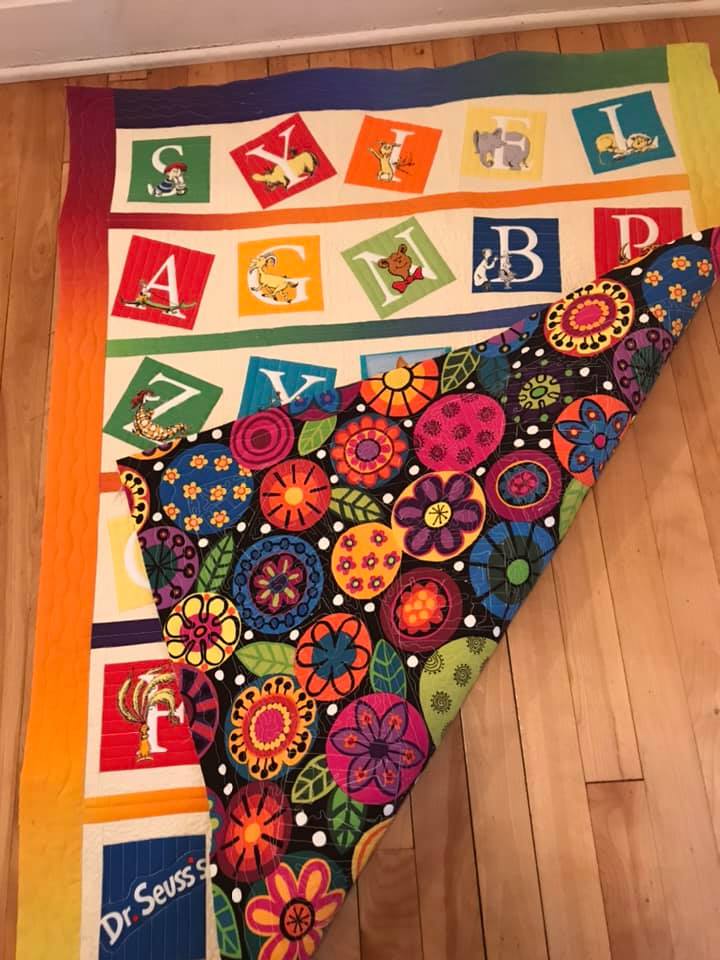
I enjoy making baby quilts because you can come up with such interesting designs. This Dr. Seuss baby quilt was made with an alphabet panel that I cut up and made off center squares.
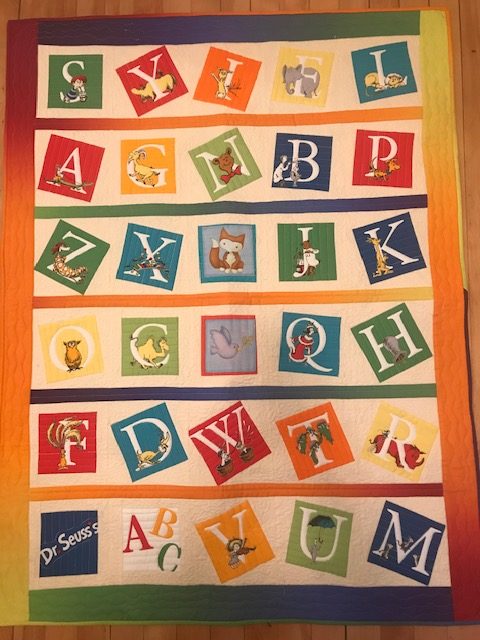
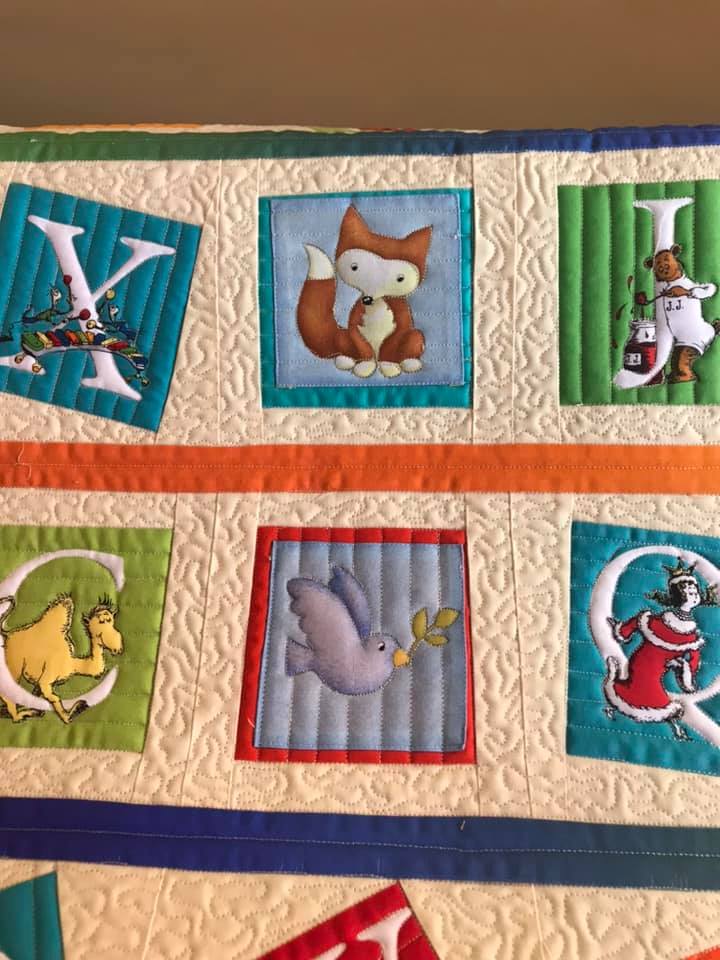
The panel had only 28 squares, the 26 letters and 2 extra. But I needed 30 to make my design work. So I added to animal blocks in the center.
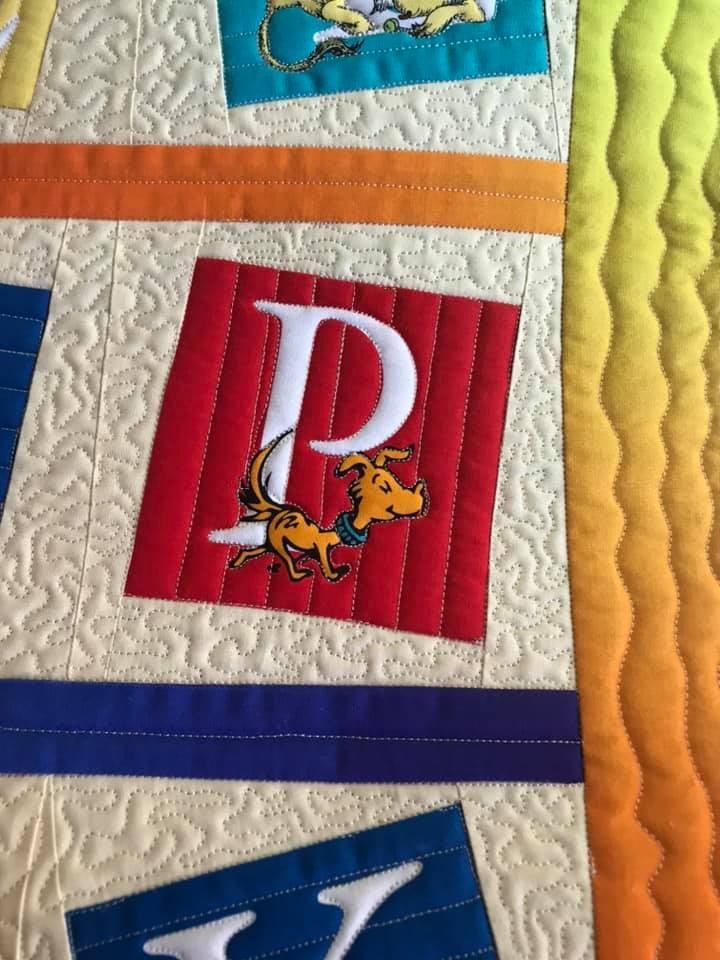
Once I had the blocks sewn together and on my design wall, it looked nice, but blah. Searching through my fabric stash, I found some ombre fabric I’d bought a while ago and the colors were a perfect match. They became the horizontal sashing and the border, as well as the binding.
Once I’d pieced the quilt top, I loaded it onto my longarm machine and off I went.
Because there are so many straight lines, chose to make wavy lines along the border. I highlighted the letters and characters. Each colored part of the block got straight lines from the edges to the letters, and then stippling around each block. The sashing got a straight stitch line through each one.
This quilt went together much more quickly than I thought it would. I’d only had my longarm machine for a couple of weeks before I quilted this one.
This is how I quilted this Dr. Seuss baby quilt.
Below is a short video explaining how I did the quilting.
And you can watch more videos on my video page.