
If you’re looking for a fun and easy project to keep you busy during this period of self isolation or you just want a weekend project, here’s one for you.
Do you have a round kitchen, dining room, or patio table? I have one in the kitchen and it can be hard to find good sized placemats for four people. Regular placemats are too big and end up butting or overlapping each other.
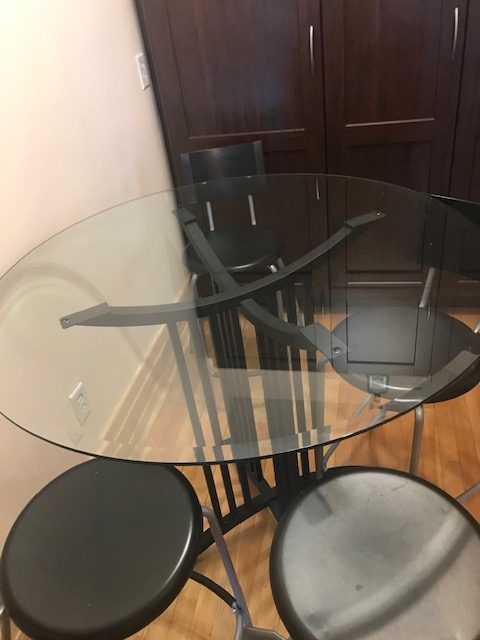
My kitchen table. 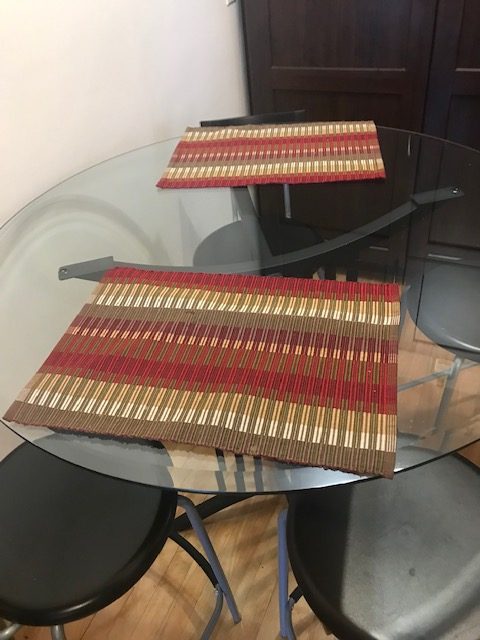
Just 2 placemats take up a lot of space.
So I have a solution. It’s easy and it’s a great way to practice your machine quilting skills at the same time. The best part of this project is there are no patterns and you can adapt it to any size table. This brief video may help you visualize the process: https://youtu.be/fDMrxnLC-jM
Preparing for your weekend project
This project is simple but be sure you follow the order:
- Decide on the size you want.
- Cut your fabric, batting, and backing.
- Quilt the top however you wish.
- Cut the square into a large circle.
- Cut a smaller circle out of the large one, leaving you with a “donut” and small round.
- Divide the donut into four pieces for the placemats.
- Bind.
- Enjoy.
Let’s go!
Measure your table and decide if you want your placemats and table topper to fit the whole surface, or if you want to have table space between them. Some people have very large round tables but make smaller placemats so they can move them to the center of the table when it’s not being used. It’s totally up to you.
In my case, the table was about 44″. This is handy because fabric generally comes in widths of 42″-45″. If you have a larger table, you can sew fabric together for a larger piece. If you have orphan quilt blocks – ones that you made for other projects that were never used, you can sew them together for this. Use your imagination. The only rule is it must be square. A panel perhaps? That would make like a puzzle of sorts.
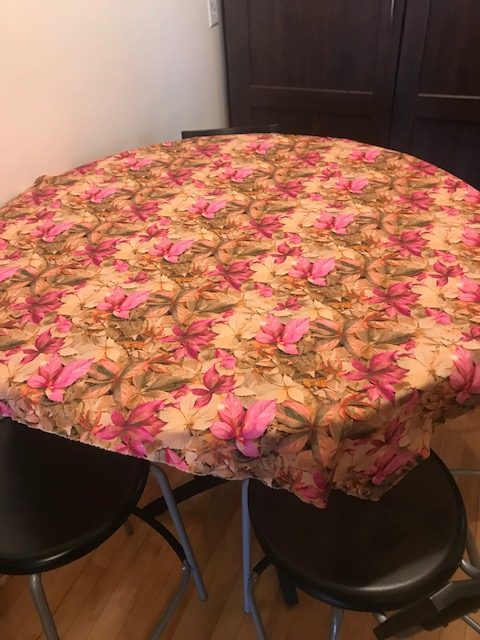
For this tutorial, I used some floral fabric I had left over from another project. Next, choose your backing and your batting. For backing, I often choose a contrasting fabric so I can have two sets of placemats by just flipping them over. But you can also take this opportunity to use fabric that you decided you didn’t like any more after you bought it. Again, it’s up to you. (Not in the mood to quilt a piece? You can by “cheater” quilted fabric at most big box fabric stores. They’ve done the work for you.)
I use a cotton batting, Puffy battings don’t work well with this type of project because you don’t want glasses to tip if one part of the placemat is significantly puffier than another part.
If you plan on using the center piece as a trivet, you can use special batting specifically for oven mitts, etc.
Make your quilt sandwich
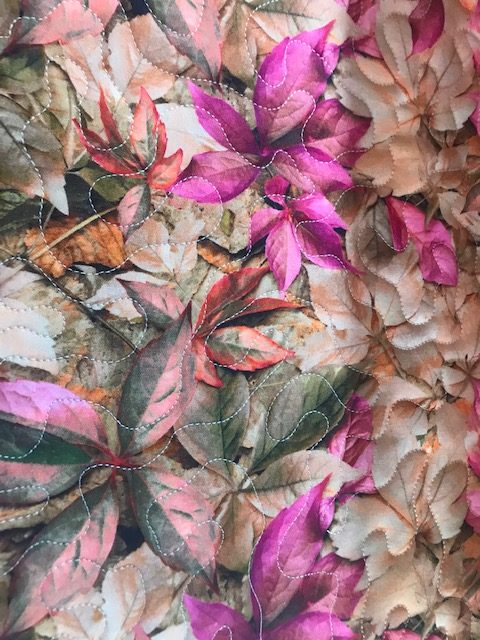
Now make your quilt sandwich as you would if you were making a lap or bed quilt and then quilt away. If you’re new to machine quilting, this is a great opportunity to practice your designs. It doesn’t matter what you do. For this tutorial, I did a meandering pattern all the way through. But if you want to practice feathers, doodling, anything – go for it.
Cutting the placemats and center piece
When the quilting is complete, you’re more than half way done. The next few steps must be done carefully or you’ll make a mistake. Believe me. Take your time.
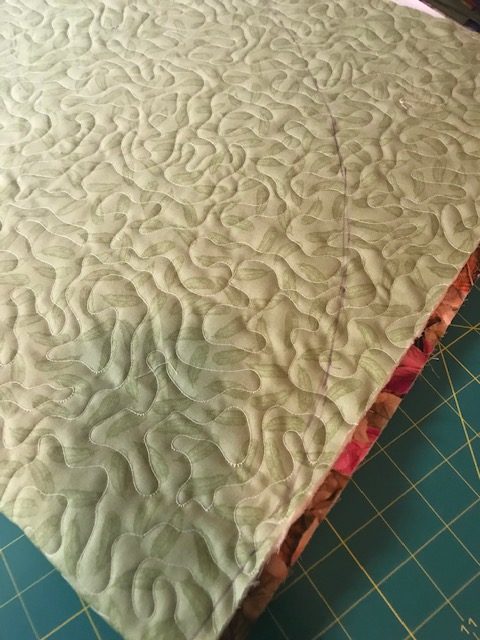
First, you must square off your piece. It doesn’t have to be perfectly square because you’re going to be cutting a circle out of it, but as square as you can make it.
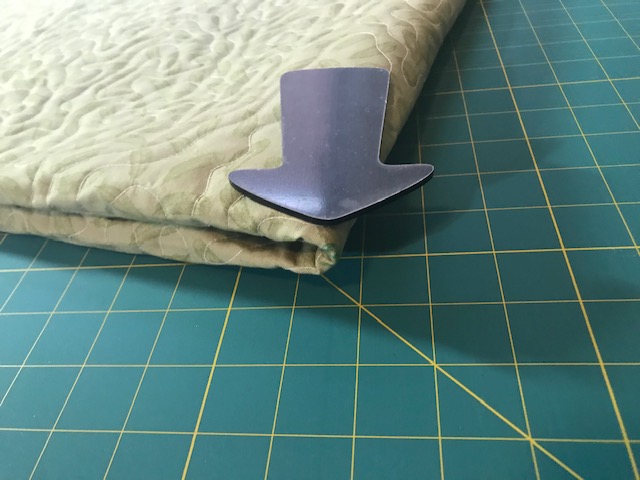
Once you’ve cut the sides, fold the piece in quarters to find the center. I like to mark my center with a contrasting piece of thread.
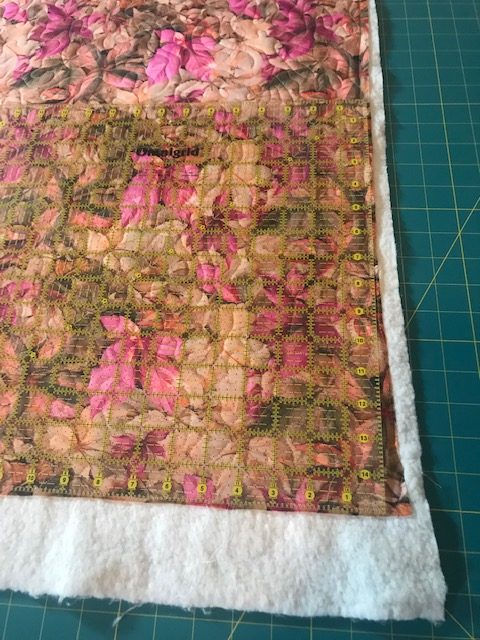
Using a square ruler, square off the quilted piece. 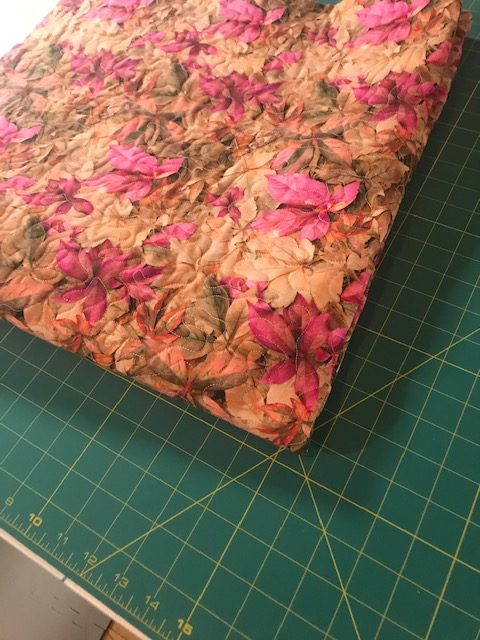
Fold in fours to find the center 
I like to tie a contrasting thread to mark the center. 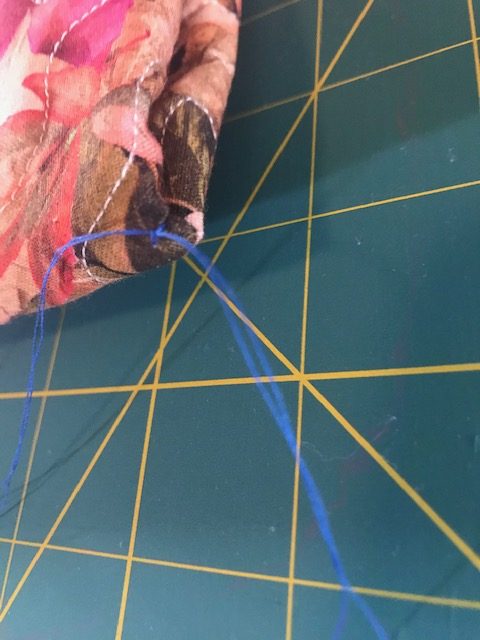
Tied thread to keep center marked.
The next step can be done in one of two ways, you can use a ruler or a string and pen for a makeshift compass. I’ll explain both ways.
Making your circles with a ruler
You can use either the front or back of the piece for this step. I chose to work from the back because it’s less busy and it was easier to photograph. Unfortunately, when I was quilting this piece, I neglected to check my tension, so you will see many stitches with eyelashes. That is a good example of what not to do. But I was in a bit of a hurry and I forgot to check the tension until I was well into the project.
Ok, back to the project. Fold your square into quarters and mark the center if you’ve not done so already. Here I found the blue thread I’d used on the front and I marked around it with a washable marker.
Measure along one edge of the quarter, from the center out. Measure along the other edge and take note of the smallest number. Despite how a careful we are, most times, there is a small difference. In my case, one side was 20″ and the other was 20.5″, so I picked the 20. Draw a line to mark the same length on both sides. Use that same measurement and mark down in the center.
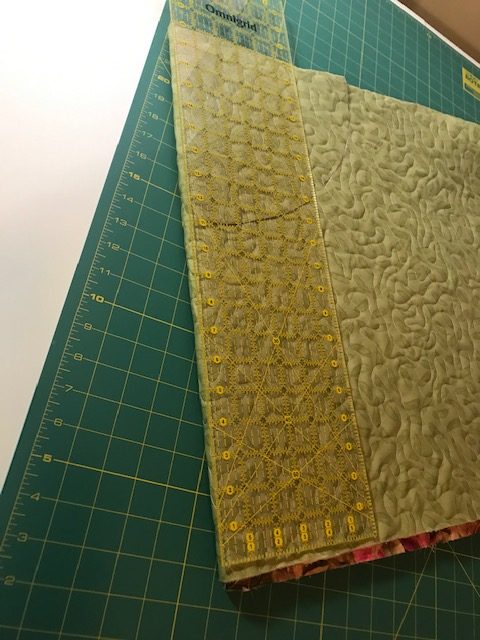
Measure from the center along one side, than along the other. 
Mark the edge 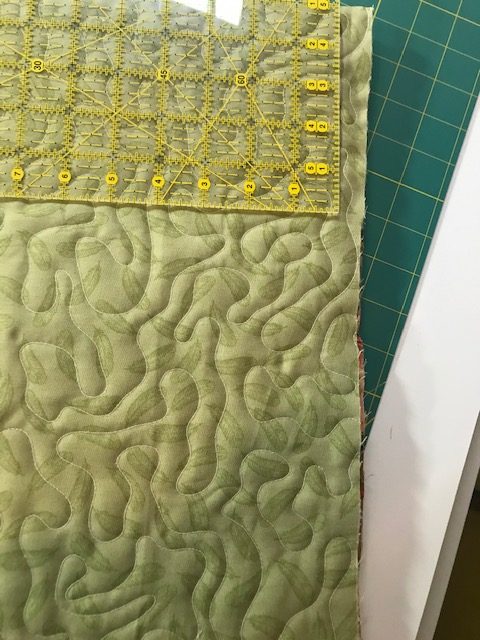
mark other corner 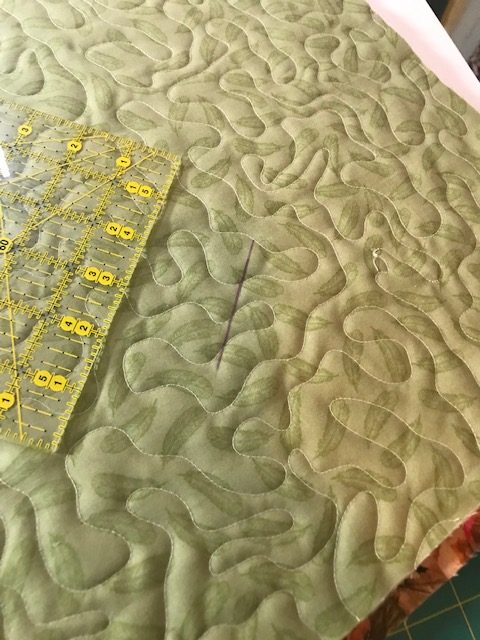
Mark in the middle, same length as you did for the corners.
Keeping the edge of the ruler steady on the center point, gently slide the other end of the ruler along the quarter piece, making marks along the way. Join them to make a connecting line. Then cut carefully with sharp scissors.
Move the ruler slowly and mark until you have a quarter circle. 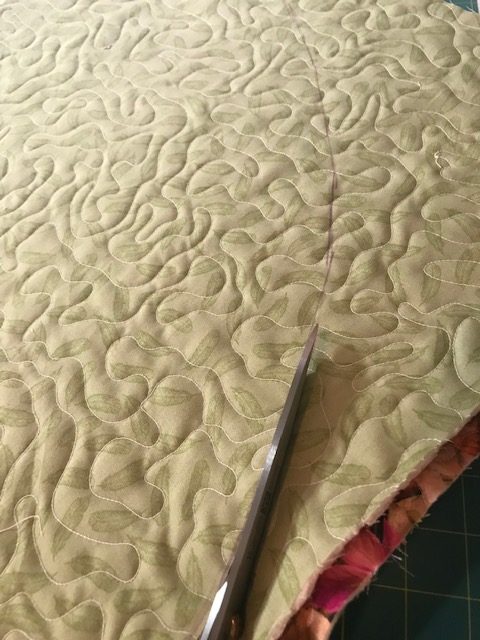
Cut carefully 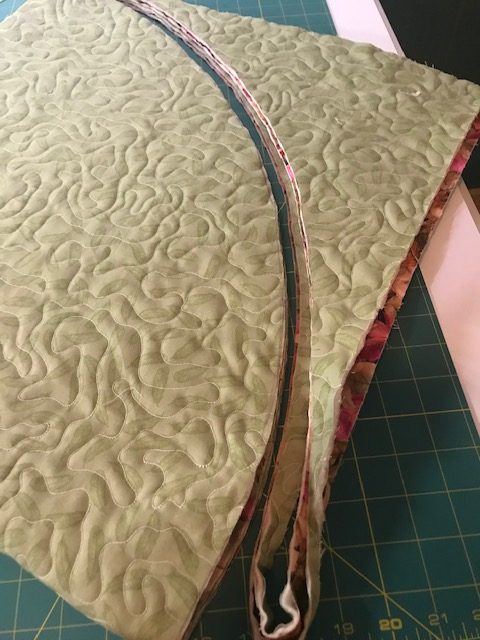
Remove the corners and now it’s time to cut the center out.
Cutting the center
Using a ruler, measure up from the edge for the size placemat you want. I wanted 12″ high, so I measured along both sides and marked 8 inches from the top (20 for the length, minus 12 for the placemats, leaves 8 inches for the top circle).
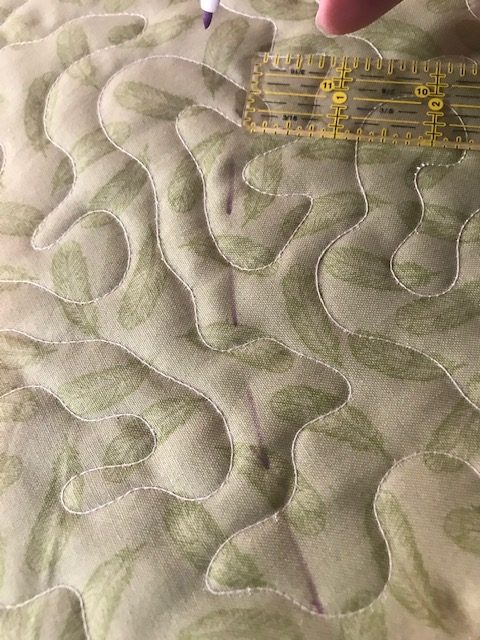
Mark the circles 12″ away from edge (this photo gives a good view of bad tension – need to fix that!) 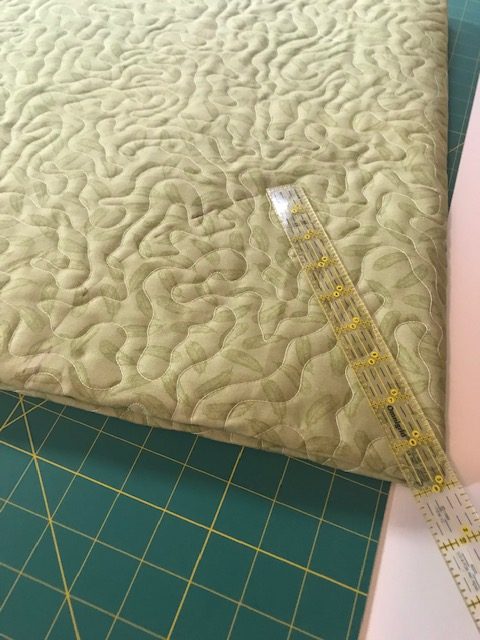
Mark from the center with your ruler instead of string. 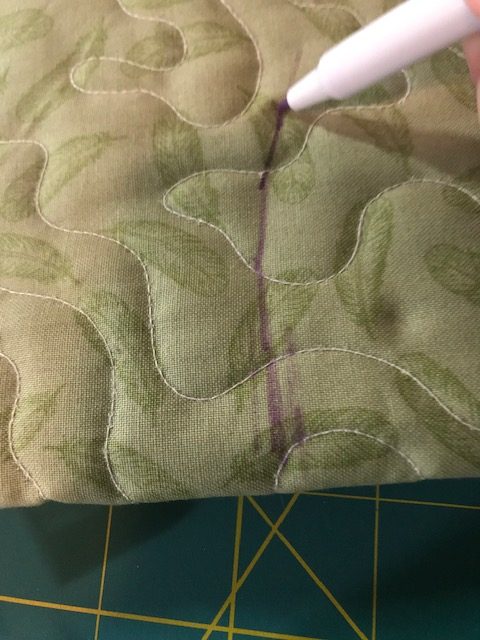
Fill in the lines 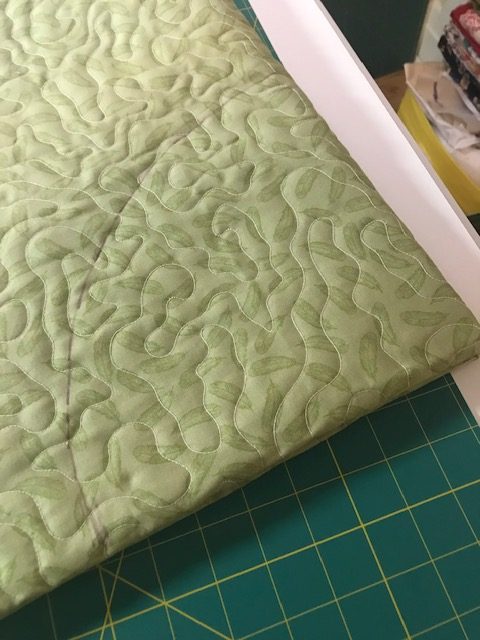
Ready to cut 
Cut the placemats
Once you’ve cut the edge middle out of your piece, you are left with a donut shape. This will be your placemats. Fold the donut in half and cut carefully. Fold each half into half again and cut one more time for four pieces. If you have a much larger top, measure around the edge and divide your amount by six for six placemats.
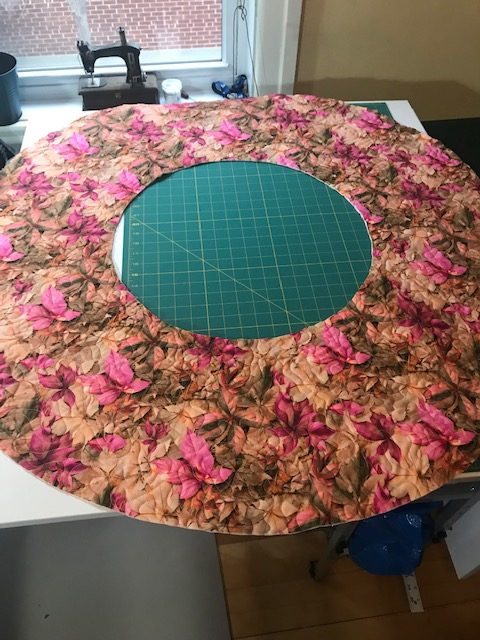
Your outside circle 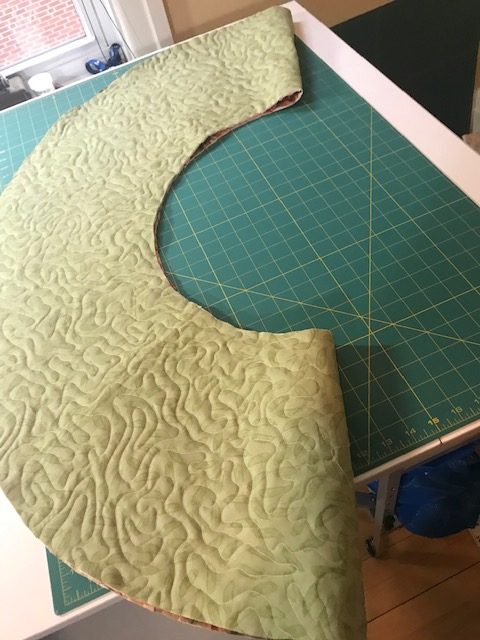
Fold the donut in half. 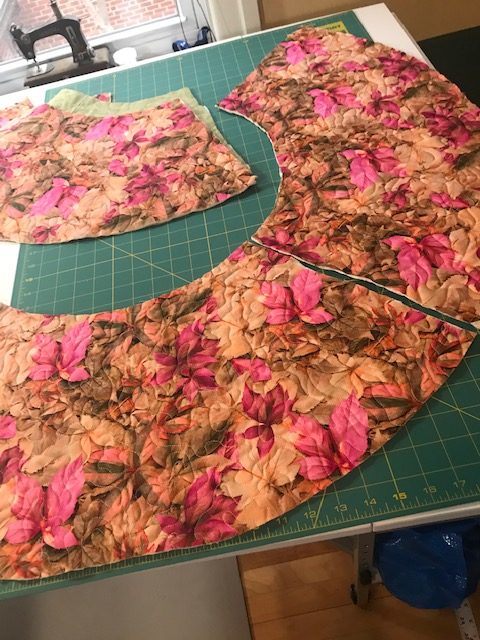
Cut the donut on the folds for two halves. Then fold those and cut them in half for 4 total.
The finished product
And this is what it looks like once the pieces are cut. The last and final step is the binding, which I’ve not yet done on this one. Because you’re going around curves, you need a bias binding, one that is a bit stretchy. If you’re not familiar with bias bindings, you can Google the term and find many people explaining how they do it. I like this explanation here. If you want to do a continuous bias binding so you don’t have to piece your binding together, Missouri Star Quilting Company has a good video on it.
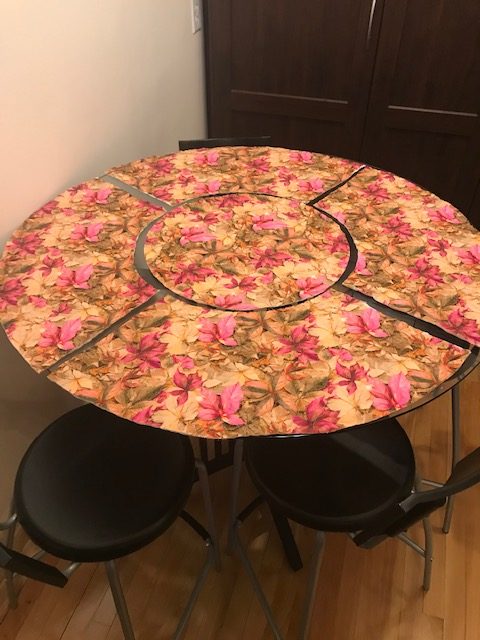
And here is your set. It still needs binding though. 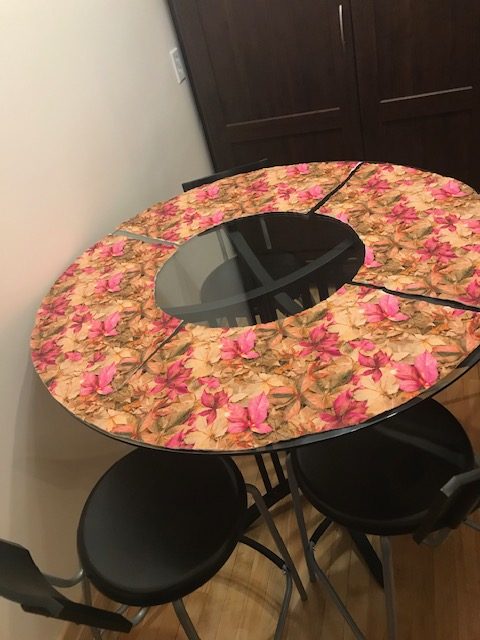
the placemats without the table topper
String and marker
You can use a string and marker as a compass instead of a ruler if you wish. Cut string or yarn longer than you think you will need. Fasten it to the center that you’ve already marked. Measure where you want the line to be and fasten the string to your marker so it’s the right length. Gently hold the marker upright, string taut but not stretching, and draw your lines carefully.
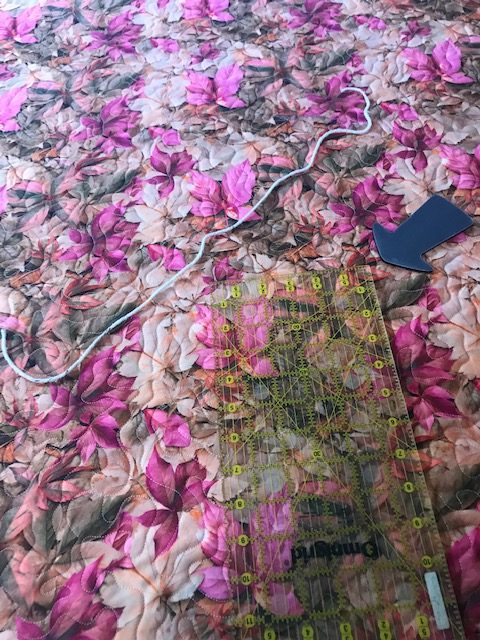
For a makeshift compass, use string. 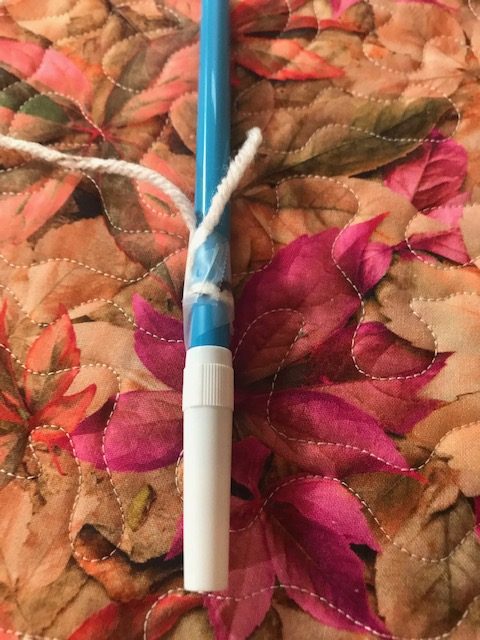
Attach the string (or yarn) to your marker 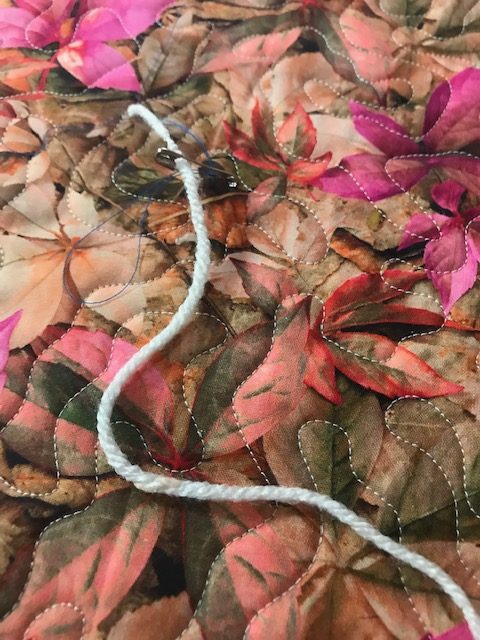
I use a safety pin to attach the string to the center. 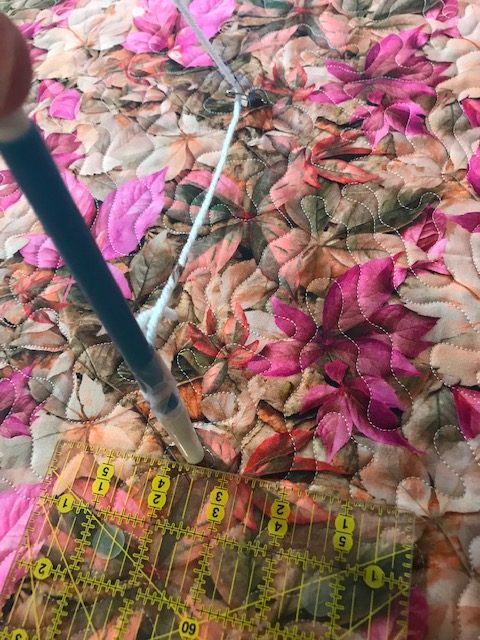
Don’t pull tight, just snug, from the center.
I would love to see your placemats if you make them. They don’t even need to be quilted fabric. If you have a heavy oilcloth or something like that – they make great placemats and you don’t have to bind the edges.