
Deciding how to quilt a piece that has a lot of negative space can be challenging, especially if it’s a quilt pattern you’ve never come across before. I had the pleasure of doing such a quilt for a friend. She made a lovely top (sorry, I don’t know the name of the pattern) and asked me to quilt it for her. Challenge on!
Research first
Before tackling a quilt like this, I sometimes go online and search for similar quilts to see what other quilters have done. Since I’d not quilted one like this before, I searched for quilts with circles and negative space. I won’t copy someone’s design, but I may take note of one element and combine it with elements from other quilts and my own ideas. Then, it’s time to get to work.
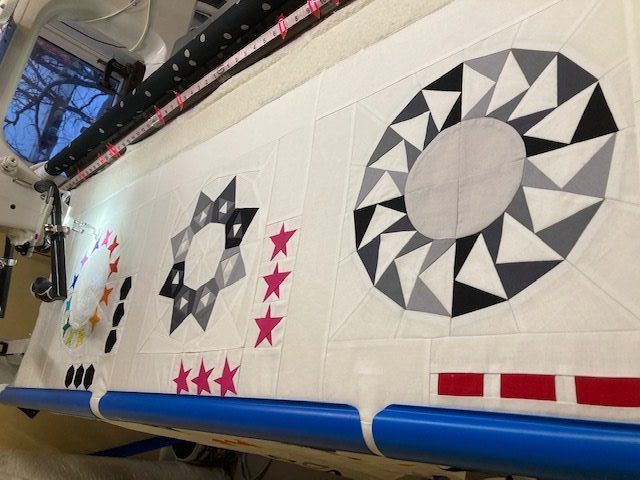
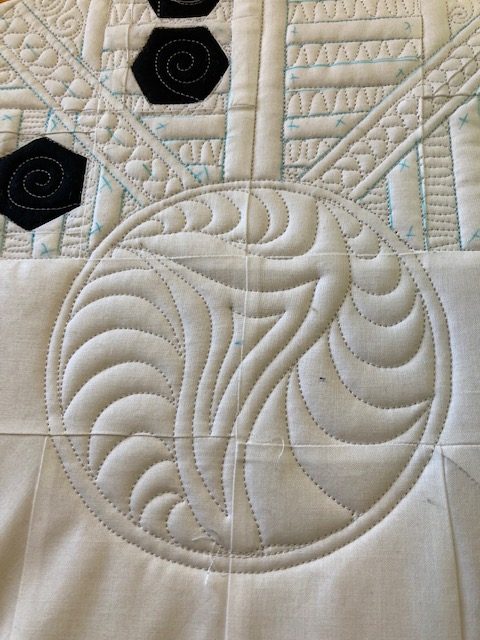
I knew I wanted to use a lot of curves, because as you’ll see, the blocks are almost entirely straight lines and sharp angles. So I started the top like this.
And then I started marking
I don’t usually mark my quilts or if I do, the marks are usually limited to guidelines, but a quilt like this needs a lot of marking to ensure I stay consistent. I used a blue water soluble marking pen for this and I spritzed the marks away before I rolled up the quilt and moved to the next section. I don’t like to leave ink on fabric for long periods.
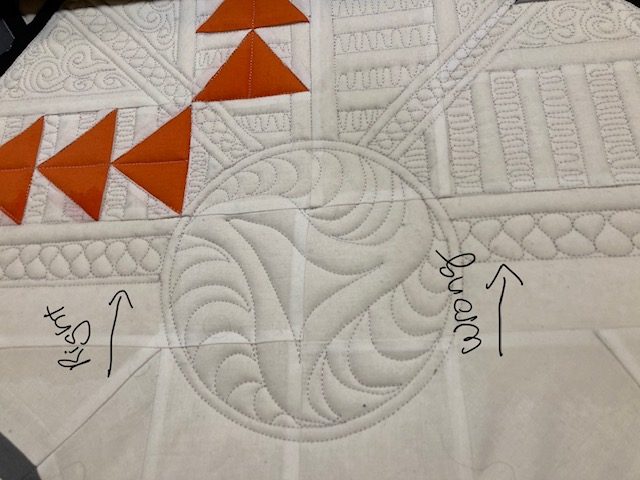
I even marked most of the 1/4 or 1/2 inch lines, even though I could just use the ruler as I quilted. But here is why – check out this photo. The first part with the ribbon candy is right, the way I wanted the 1/4 inch line there. I didn’t mark it further along and look – I forgot to add that line and the ribbon candy came down to far. Luckily I noticed it right away and I just took out the stitching and did it over – the right way.
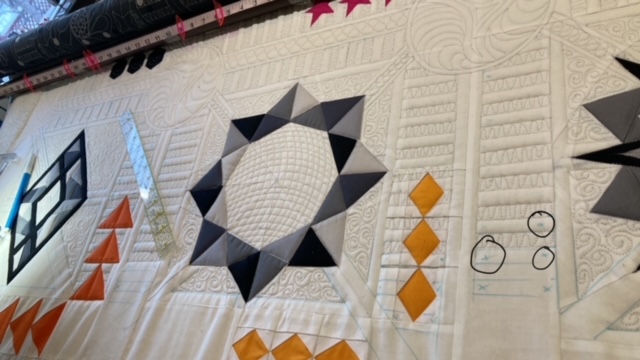
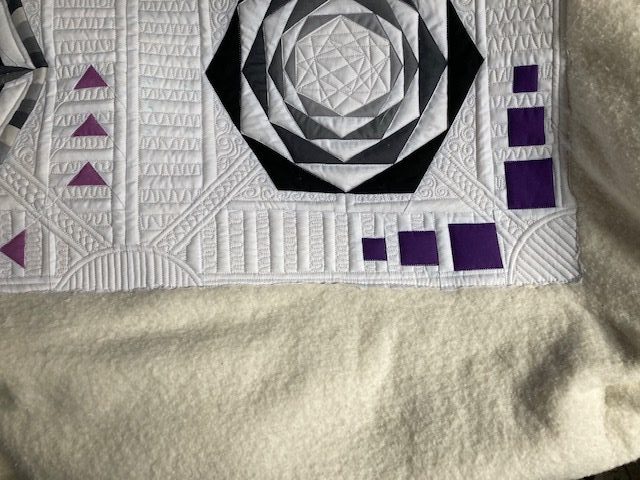
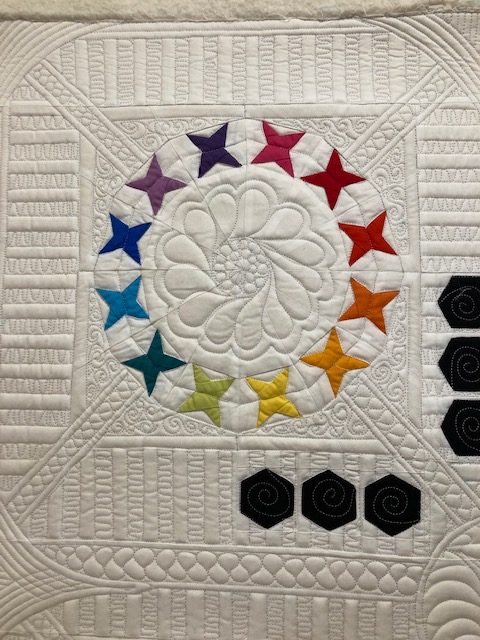
Each block is different, so I quilted each accordingly, but I wanted to tie them all together and the way to do that was to have the same quilting that disappeared behind each block. I also had to decide what to do between each block.
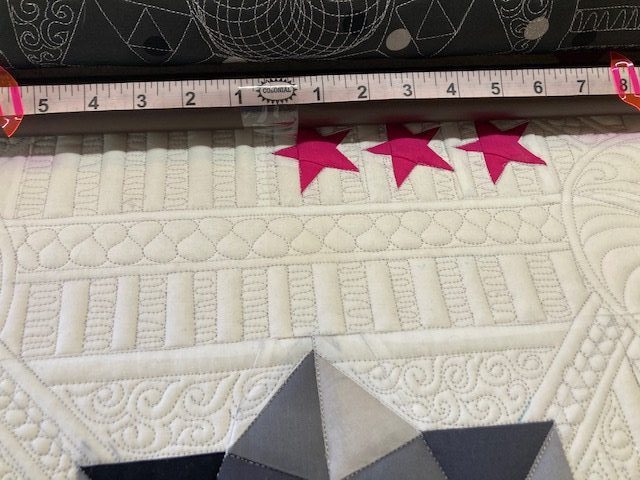
I also marked the piano keys to remind me which ones I wanted to quilt in and which I didn’t. I marked both ends because as I quilted back and forth, sometimes I’d enter the key from the right, sometimes from the left. But even with marking, twice I ended up quilting in adjacent bars and I had to take it out. Still, it was only two and had I not marked them, there would have been many more errors.
Dividing rows
Since the blocks weren’t symmetrical, meaning the bottom right hand side had parts that were not on the opposite side of the block, making the rows and columns in between the blocks was a bit challenging. I settled on doing a row of ribbon candy between the rows and just straight lines in the columns. I also added some circular quilting in the inner corners to add interest.
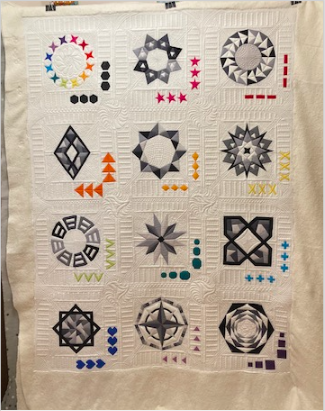
And here is the finished quilt, waiting to go back to its home. For those who want to know specifics, this quilt was done with two layers of Hobbs 80/20 batting using Glide thread (cool gray).
Again, because the blocks were not symmetrical, I couldn’t do the same quilting on the bottom of the quilt as I did at the top, so I just added some partial circles at each corner and the bottom of each column.

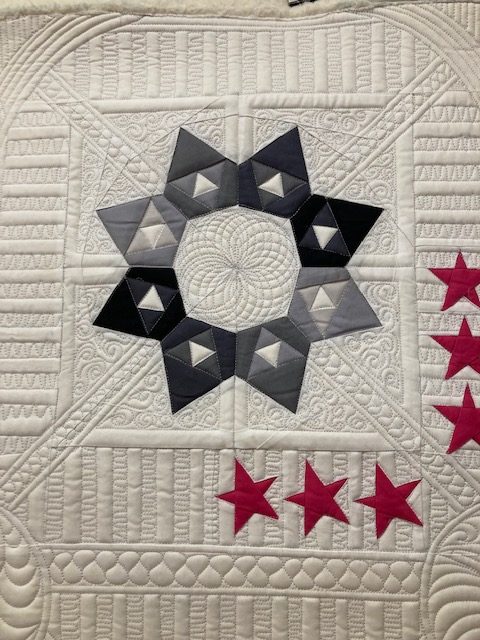
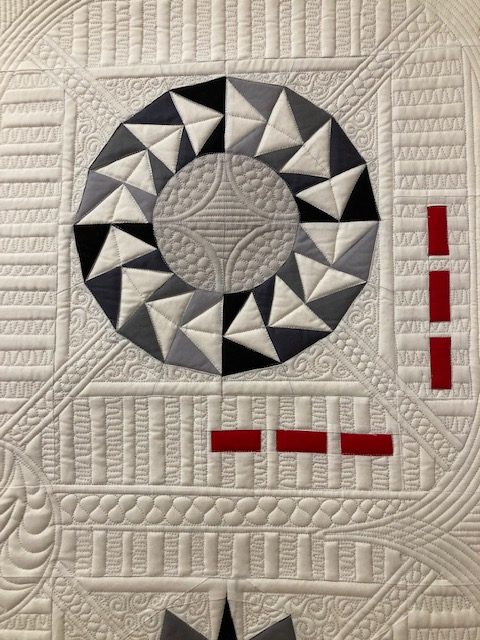
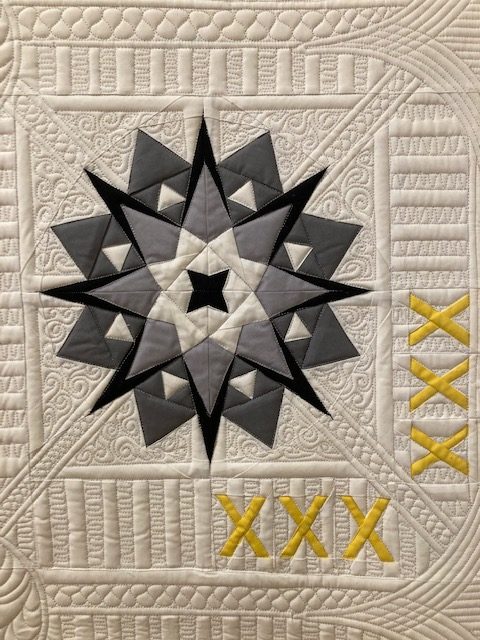
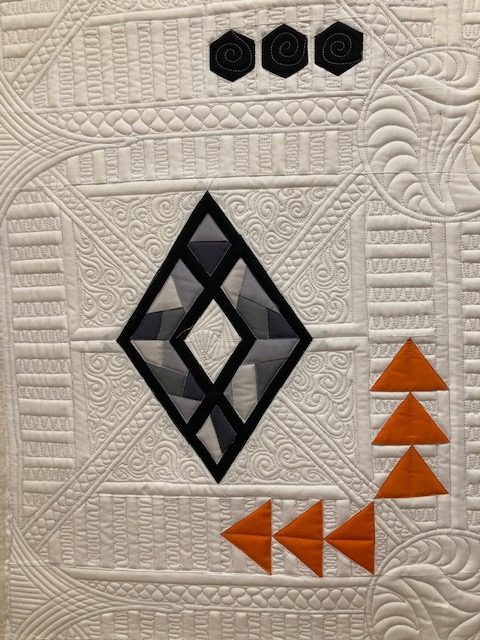
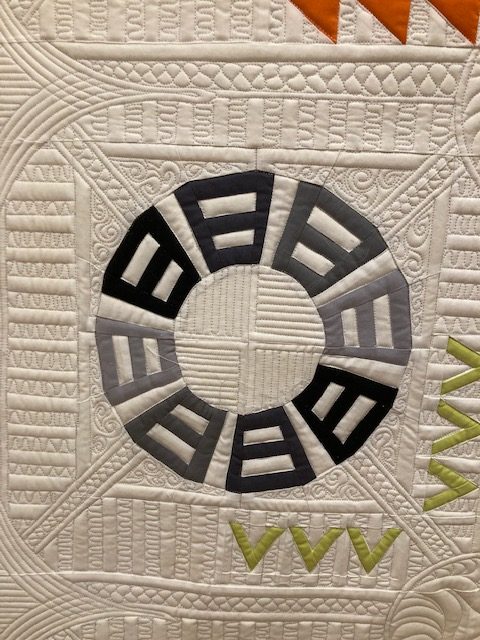
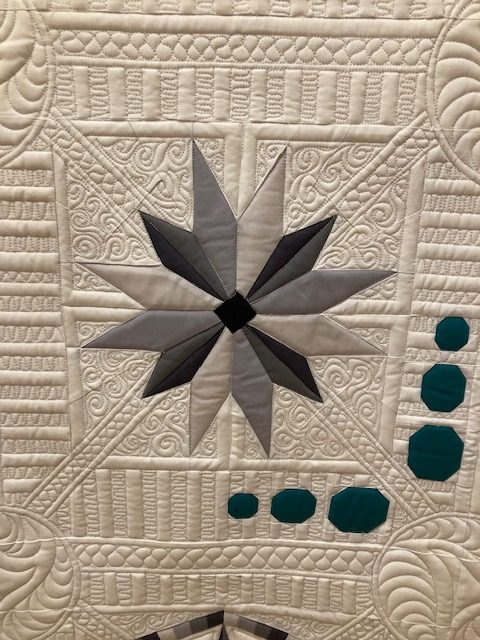
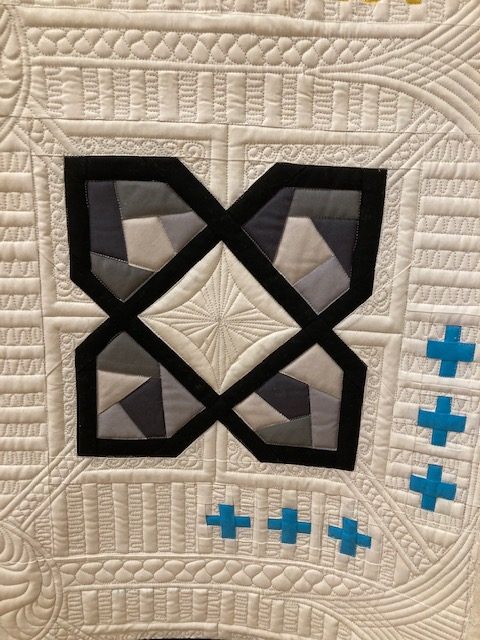
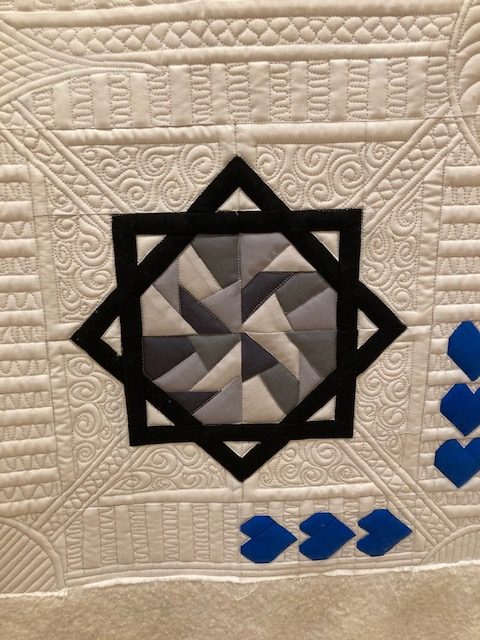
And here are the blocks:


I am very satisfied with the finished project. It took 8.5 hours of quilting, in addition to all the time marking (and unstitching my mistakes!). But it’s worth it.
Here is a video I did showing some of what I mentioned above: