
Upcycling is a big thing these days. People take old objects and repurpose them into something new. But upcycling itself isn’t new, not in the crafting and art world.
For generations, quilters took fabrics from old clothes, sheets, even feed sacks, to create both utilitarian and art quilts. And this tradition continues as quilters take vintage and antique linens to create new art. Before I go into more detail, if you are looking for how to work with vintage fabrics, I suggest you look up Cindy Needham and Kelly Cline. Both are wonderful teachers and quilters, who make gorgeous works of art.
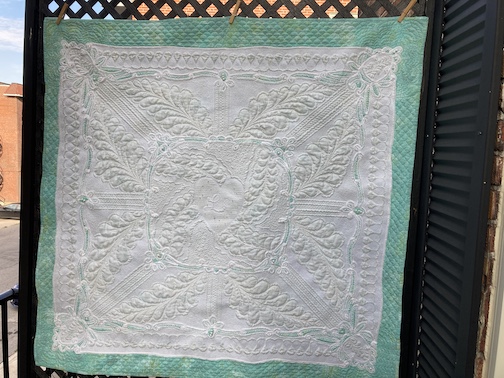
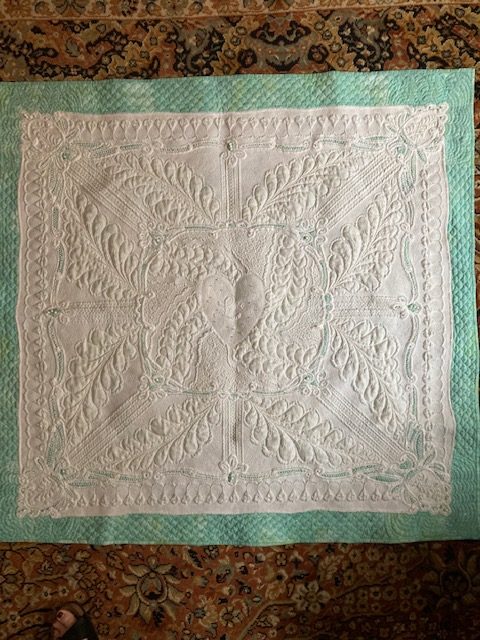
This is my second attempt at using a piece of vintage linen. A friend sent it to me and I decided to back it with a lovely green grunge fabric. I thought the juxtaposition of the older lace and the newer grunge was effective. (There is a video too, linked below.)
Planning the quilt
That subheading, “planning the quilt,” makes the process sound so official, but I have to be honest. I didn’t really plan it. All I knew from the start was I wanted to do a word or something special in the centre and highlight it – and I decided on a heart with the word love in the middle. Once that was done, the other design elements came out.
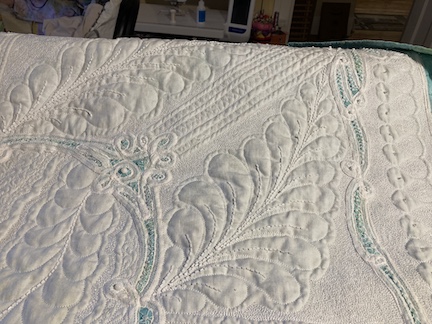
I decided to do the feathers – but I’m not sure why I did them going up to the heart rather than out of them. Then I added the filler stitching so the feathers and heart would be highlighted.
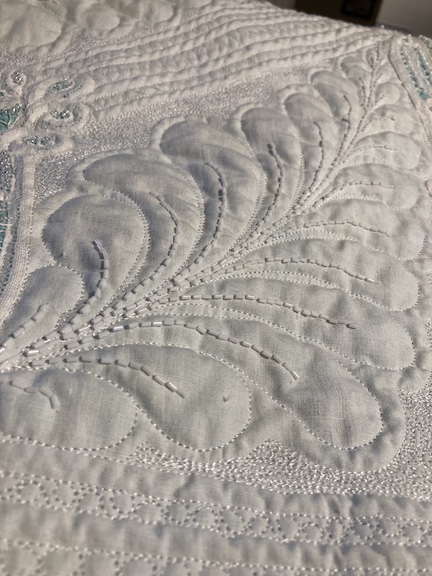
Progress
It was slow going because each design element came out as I finished the previous one.
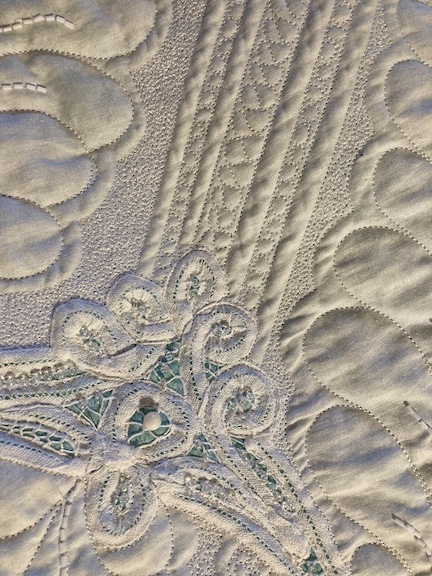
I did a lot of thread scribbling on this quilt. Some people like to micro stipple – apply tiny stitches in a looping pattern, but micro scribbling is different. With stippling, as with meandering, you don’t cross over earlier stitches. Scribbling doesn’t have that restriction and it allows you to cover more fabric.
I wanted the flattened effect that the scribbling would give me because it covers lots of mistakes!
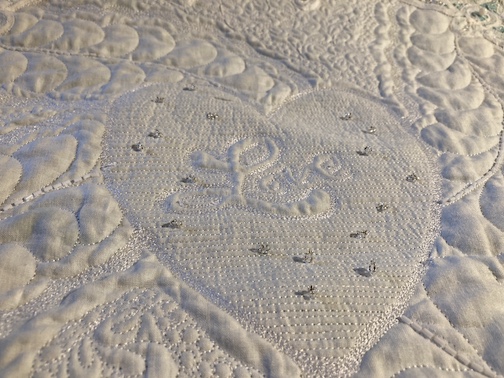
Look at the heart:
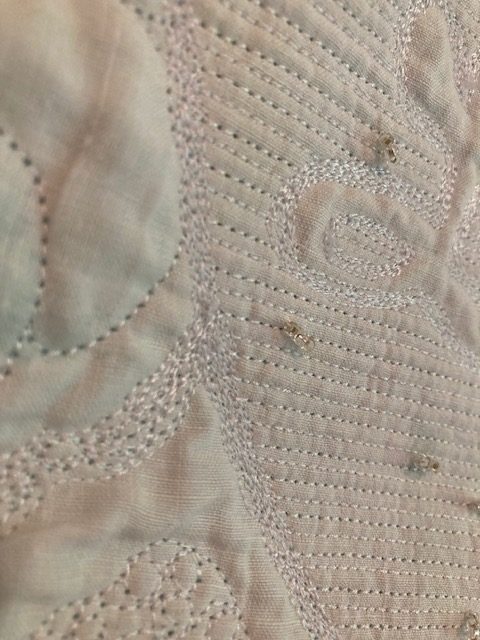
You see that I did many, many narrow lines. But it’s virtually impossible to ensure that each line starts and stops in exactly the right place. So, by placing scribbling next to the heart, any unevenness is hidden. How cool is that?
The border
The last quilting decision I had to make was for the border. The quilting had to be heavy enough to balance the intense inner stitching, but I didn’t want to overwhelm the piece. Scallops and echoing turned out to be the right choice.
I echoed around the corners – that was deliberate because I didn’t feel like trying to match scallops around the corners. I can do it – just didn’t feel like it! But I like the effect of the scallops along the sides to the corners. I think it’s my favourite part of the quilt.
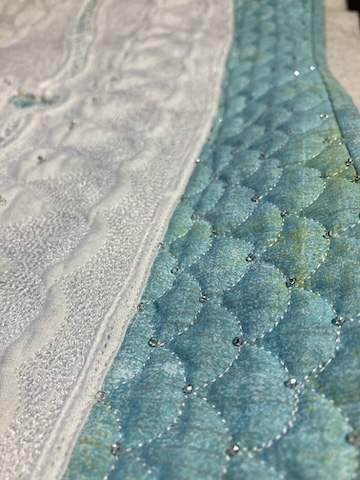
On to the beads
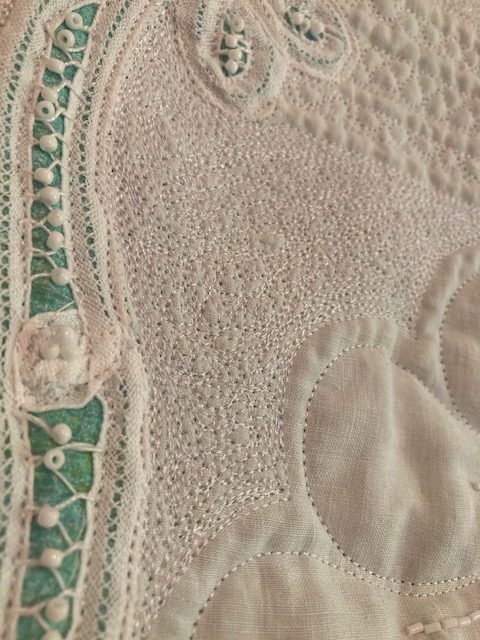
I knew I wanted to add beads to this project, so I ordered some that I thought would be a good fit. And then I got to work, stitching down hundreds of beads one by one.
There are many crystal beads and plain white ones. I used some to tack down lace, others to emphasize a design but again, I think my favourite use of the beads is on the scallops.
If you would like to see the progress, here is a video of how and why I stitched the quilt and at the end, there’s a sneak peak of my next vintage project.