
When I first started quilting, I didn’t really know how bindings were attached. I learned how to quilt from a book and the binding instructions weren’t too clear. I tried various techniques in those early years but they never seemed to look right. They didn’t look bad, but they just didn’t look right.
Eventually, with the help of the Internet, I figured out better techniques and settled on one that worked for me. There are other methods to produce good results and I’ve tried some, yet I keep going back to my tried and true method, which I demonstrate in the video at the end of this post.
Why a Binding?
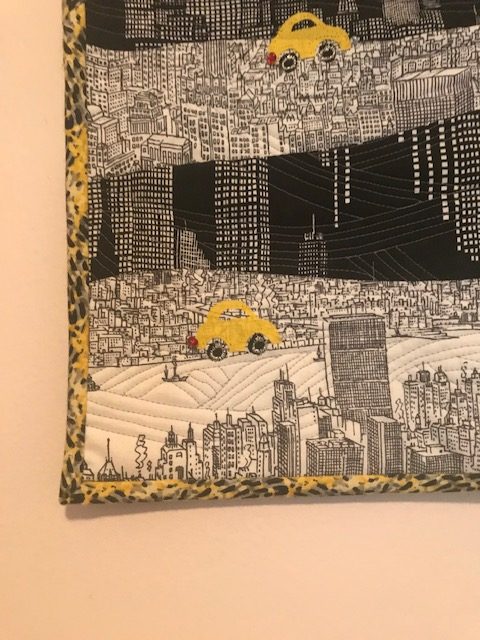
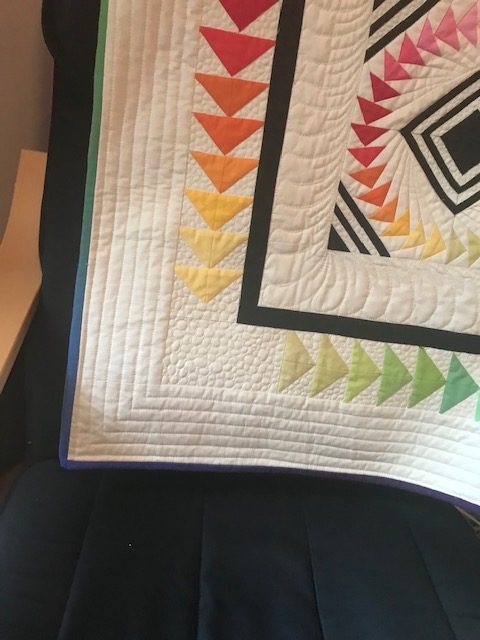
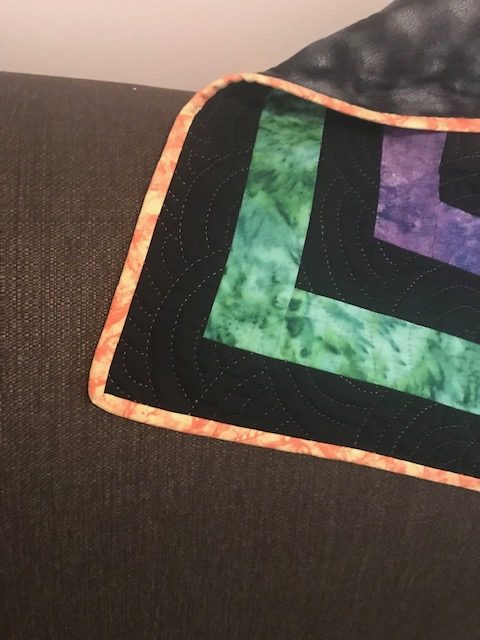
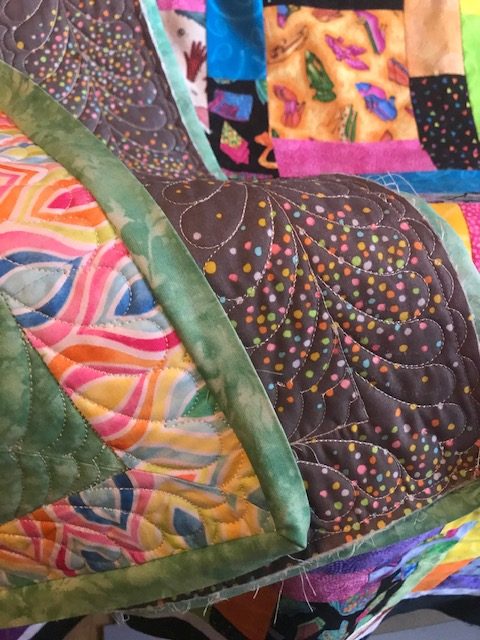
A binding is the finishing touch for a quilt. It seals/closes off the edges and can blend into the quilt or it can be a design element. I use a double layer binding, so there are two layers of fabric along the quilt edge.
The binding is arguably the part of the quilt that is handled the most and, in cases of babies and young children, something great to put in their mouth to chew or suck on. The binding takes a lot of abuse. Having two layers strengthens it somewhat.
Binding Process
I don’t always follow my own advice, but when I do, I wonder why I don’t always do! The best time to prepare your binding is when you’ve finished piecing your quilt top. After all, you have everything out and ready for sewing, you might as well make the binding while you know you have the fabric. One time I waited too long and accidentally used the binding fabric in another project. If you aren’t going to quilt your top for a while yet, you can store the binding away with the top. And if you send your quilt out for longarming, you know that the binding is ready and waiting.
I cut bindings for lap sized quilts and bigger at 2.5 inches wide. Wall hangings and baby quilts usually get 2 inches.
Measure the outside of your quilt and add about 12 inches to your total. That’s how long you want the binding to be. Once you’ve cut your strips and sewn them together into one long one, fold the long strip wrong sides together and press well. Now your binding is ready to go.
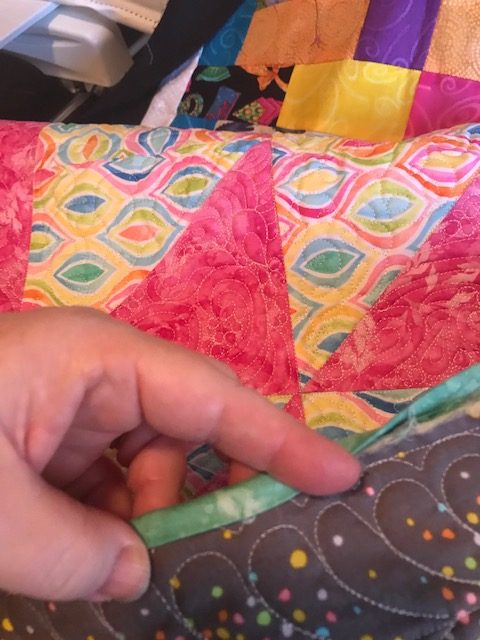
I finish my bindings by hand. I sew them to the front of the quilt by machine and then fold the binding over the edge and fasten it to the back by hand.
It is possible to sew the whole binding down by machine, but then you reverse the steps. You sew the binding to the back of the quilt, bring it to the front, and then sew it down. This way you can see your stitching.
I’ve not had much success with binding with the machine – I had to take it off and put it back on the way I usually do. But others swear by it.
Don’t Want a Binding?
You don’t always need a binding. For some quilts, I use a facing. The premise is the same. You make a double layered strip, usually a good bit wider than you would do for a traditional binding. You also attach it the same way. But, the big difference is you pull the binding back over the edge completely, not leaving any part of the facing visible to the front. This is what I did with Here Fishy, Fishy and My Garden:
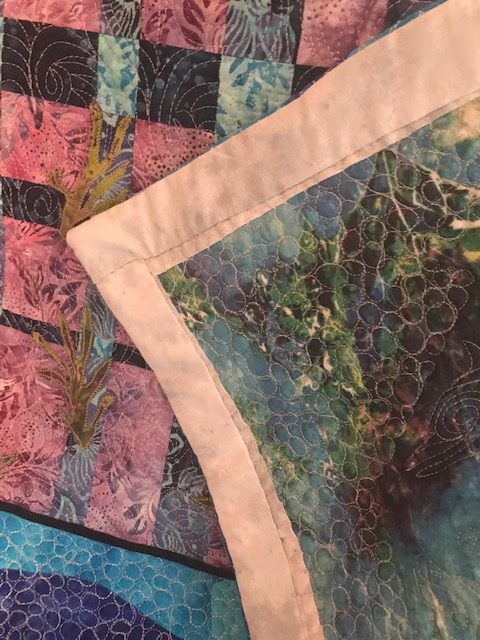
Facings are usually used for wall hangings.
You can also birth a quilt. Although this is popular, you have to keep in mind that the quilt edges have no support without a binding and they may wear down faster than they would otherwise
To birth a quilt:
- Cut the backing and batting to the same size as your quilt top.
- Place the right sides of your quilt top and backing together.
- Add the batting to the top so you have three layers: the backing, the top, and the batting.
- Pin well all around to prevent shifting.
- Start sewing along one side, back stitching well to secure the seam.
- Sew all around the layers, stopping several inches away from where you began. How much space to leave depends on how big your quilt is as you will be turning it inside out through that hole.
- Now you birth the quilt. Cut across the four corners up to but not snipping the seam threads. This is to give you better corners later.
- Reach your hand through the hole along the side and start to pull the inside of your layers through the hole until the whole quilt is right side out.
- Using a ruler or something with a not sharp point (you don’t want to poke through the fabric), reach in through the hole and poke at the corners to push them out.
- Once satisfied, press the quilt so the edges are straight and crisp.
- Using slightly less than a quarter of an inch, top stitch around the quilt to close the hole and to stabilize the edges.
- Quilt as desired from the center out.
So that’s the story behind binding. Here is a video of how I put the binding on a baby quilt:
Do you have any special tips or tricks when it comes to bindings or facings?