
After a bit of a break, my How Did I Quilt That feature is back. This week, it’s healing
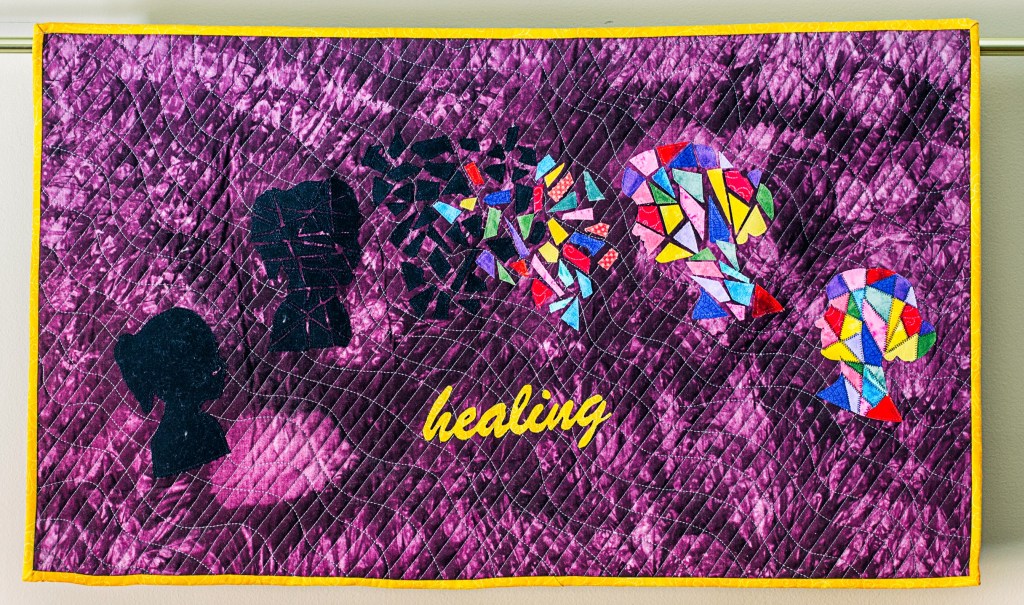
The concept of this wall hanging came to me a few years ago. As with my quilt Beyond the Brick Wall, the image of healing popped into my head out of nowhere. Just as with the Brick Wall, whenever I let my mind wander, the image for healing came back. Each time, it was a bit more defined and after a couple of weeks, I knew I had to make it.
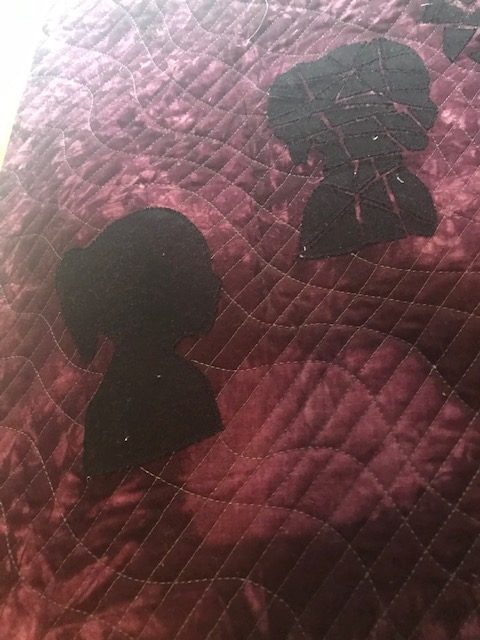
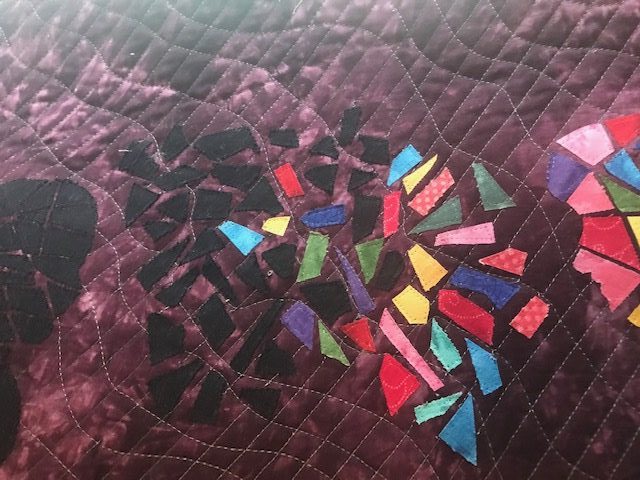
I started by finding a silhouette of a girl and another of a woman. I cut out three in black for the girl. First, I machine appliqued the girl whole, then I cut apart another black silhouette and placed them where each piece should go, but with a bit of the background fabric showing through as cracks. I finally cut apart the third girl silhouette and saved half.
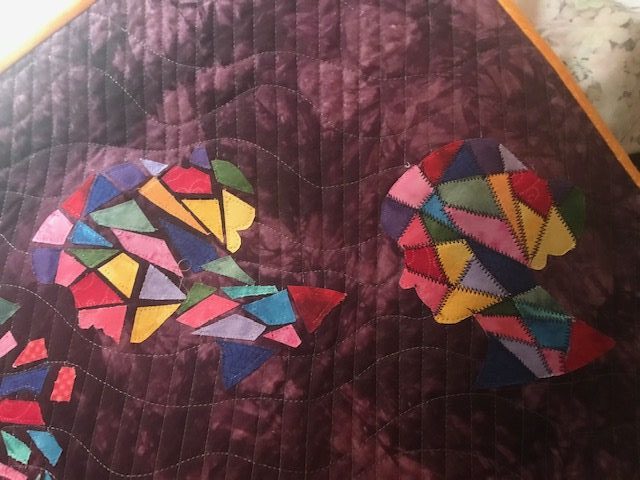
Once that step was done, I drew the woman’s silhouette. If you look at the girl, she’s facing right. The woman’s silhouette is facing left. I drew them on three pieces of freezer paper and marked lines throughout to make the little pieces. I cut out the freezer paper and ironed the tiny pieces onto different colours of fabric.
The first one, I took half of the colourful pieces and combined them with the black pieces I’d saved from the girl. For the second, I assembled the pieces properly, but with the obvious gaps. Finally, for the third one, all the pieces are fitting back together, but I used black thread so it would show up. She’s mended, but the scars are there. And then to complete it, I appliqued the word “healing” below the silhouettes.
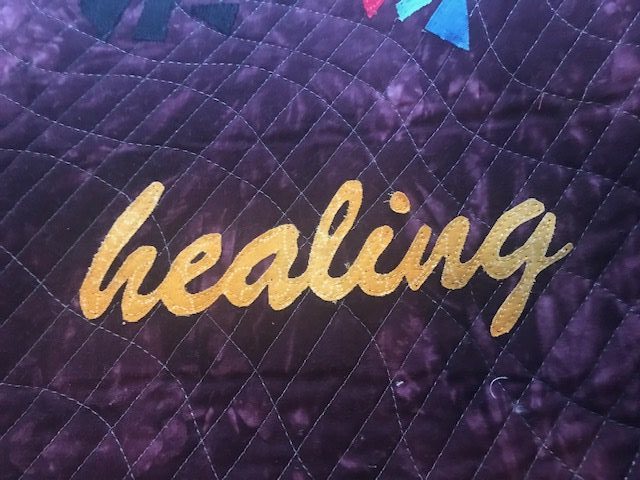
The binding is the same fabric as the word. I made this wall hanging before I learned how to do a facing on a quilt. I’m not sure if this quilt would have looked better with a facing instead, without the binding. But, I think the binding adds interest, kind of seals up the whole thing. I’m not sure if that makes sense.
My husband had an interesting comment when he looked at my finished piece. He said the background fabric was dark and it made the girl hard to see. I believe I chose that faric on purpose, not realizing at the time that it fits the purpose really well – the girl is hard to see or feels unseen.
It took about two weeks to put this together but deciding on the quilting, which is quite simple, took a while. One direction of the cross hatch is straight lines, as life can be strict and unwavering. The other direction sees the cross hatch lines curving, without rhyme or reason, and motion. This is for the unpredictability of life. The piece ended up being about 32 inches across, 19 inches down.
Here is a short video that explains the quilting:
Please visit my video page for more in this series, explaining quilting decisions