
It’s always fun (for me) to find good, effective, and inexpensive work arounds – hacks, people call them. Over the past year and a half, I’ve read about or figured out a few longarm hacks I wanted to share with people who are new to this type of quilting. Some you may already know about, some may not work for you. But maybe there is something you can take away from my ideas too.
There is a video at the bottom of this post, showing you what I mean in my descriptions.
Use the frame bed to your advantage
When I first set up my Continuum frame, I had it set up as I’d seen many had done, with the back of the frame to the wall. Of course, this worked but a huge drawback was my back was to the door. The machine is as noisy as one would expect a big sewing machine to be and I often wear ear buds as I listen to an audiobook. The result was that I was constantly startled when someone came to the door.
I considered putting up a mirror on the wall, but I didn’t feel like doing that, so I switched my frame around so my back was to the wall and I was facing out. What a difference that made! And, there was a bonus I had not thought of. I now had an extra work surface. And I covered that work surface with cutting boards.
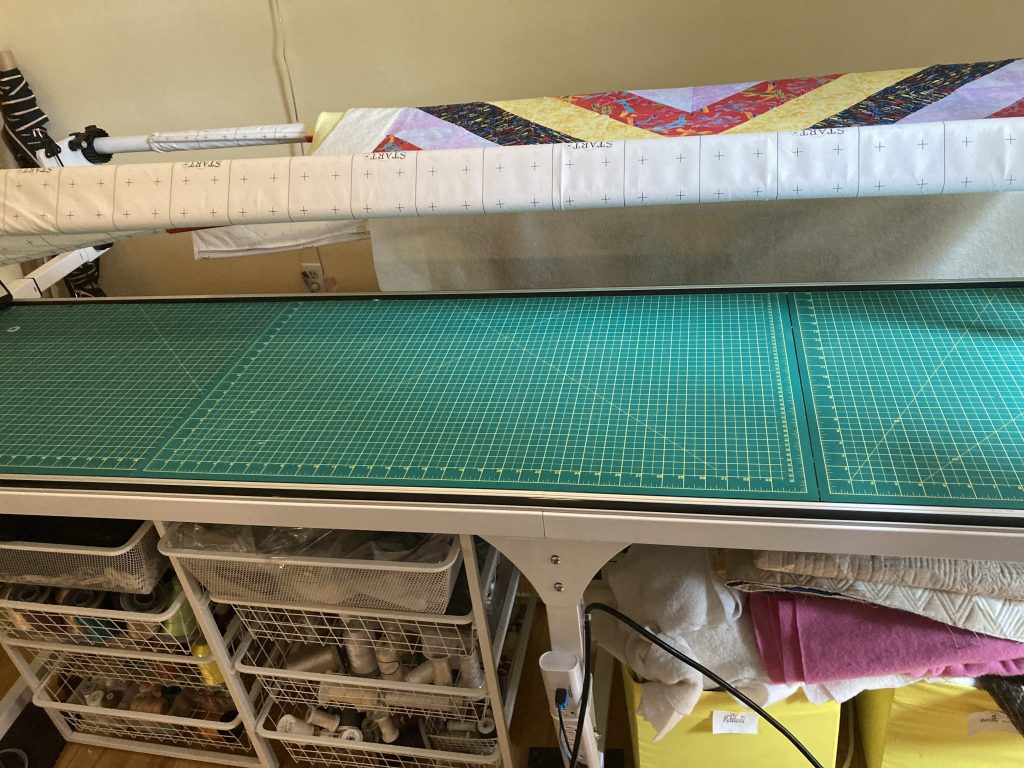
The height is not great – for posture purposes, leaning over to cut is not a good idea. But, it is perfect for cutting particularly wide pieces or for quick cuts. And, it’s also a great surface for putting fabric and accessories while I’m working. It has been very handy since I made this move.
Tension rods do more than hold up curtains
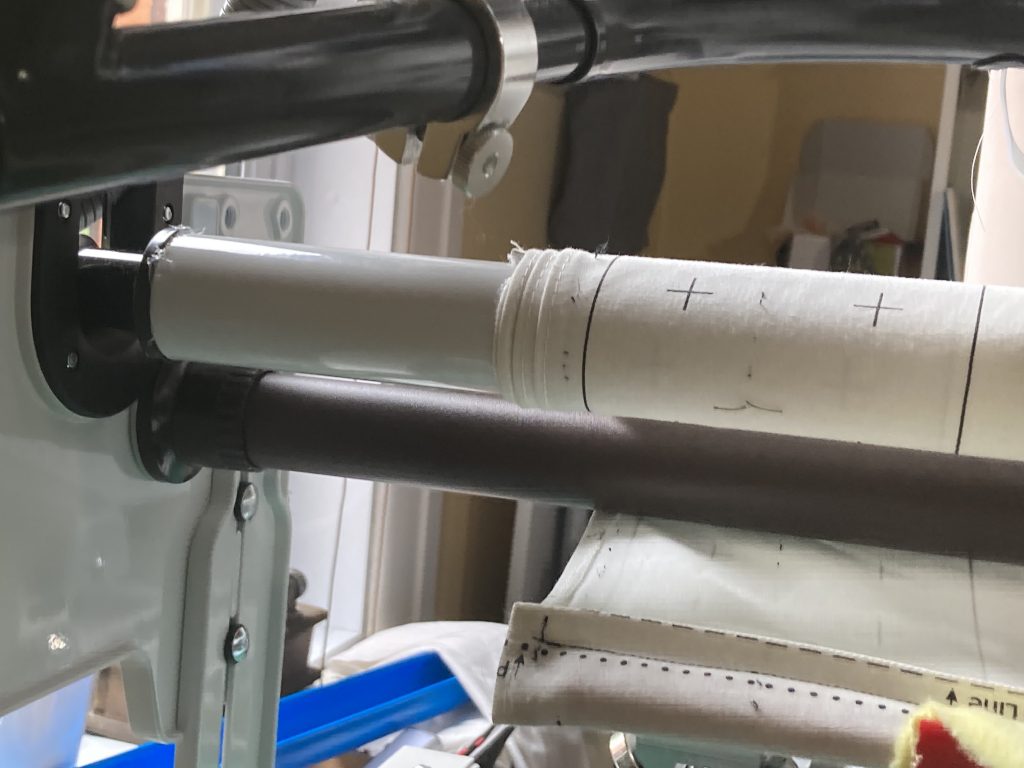
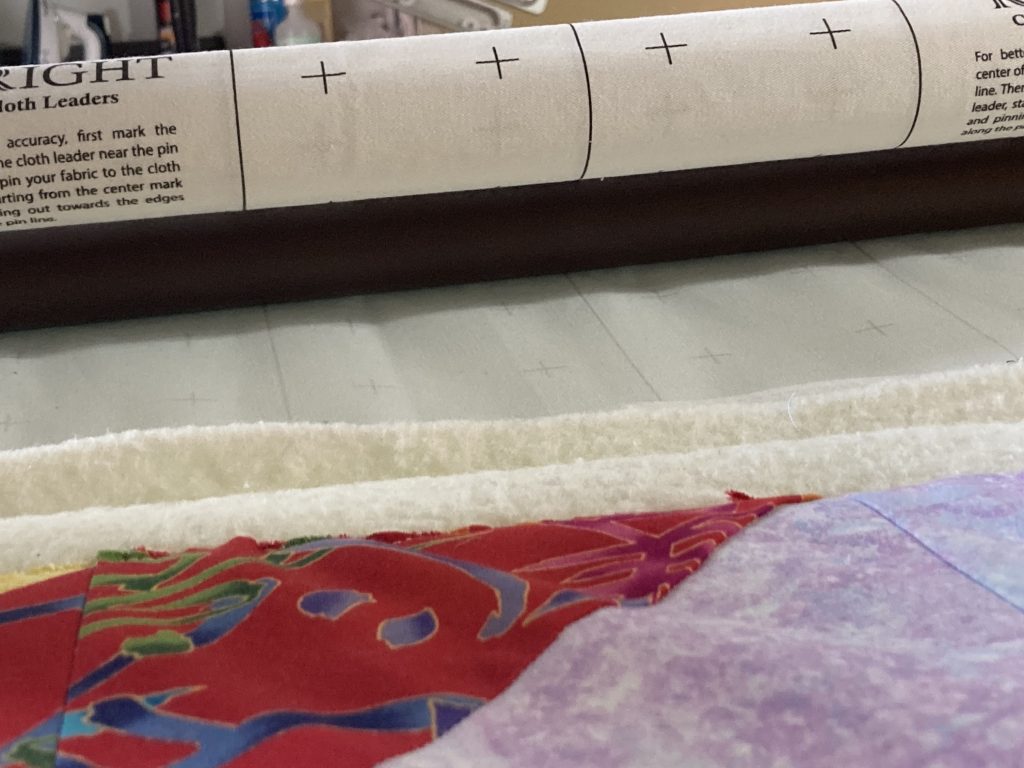
When you’re working on a quilt on a longarm frame, as you progress, you have to roll your quilt up on the upper take up bar. The farther you go, the thicker this roll becomes. When it becomes too big, it pushes onto the machine and it starts to drag.
To prevent the drag, you either have to regularly lift the take up bar or you can add an idler bar. Lifting the bar isn’t hard or a terrible thing, but it does take time out and it can be an annoyance. You can’t lift the bar too high, because then the quilt doesn’t sit flat on the machine bed, so there is some fiddling around. The idler bar, as the name indicates, doesn’t really do anything, but it does keep the quilt flat and you can keep the take up bar up higher and never have to move it.
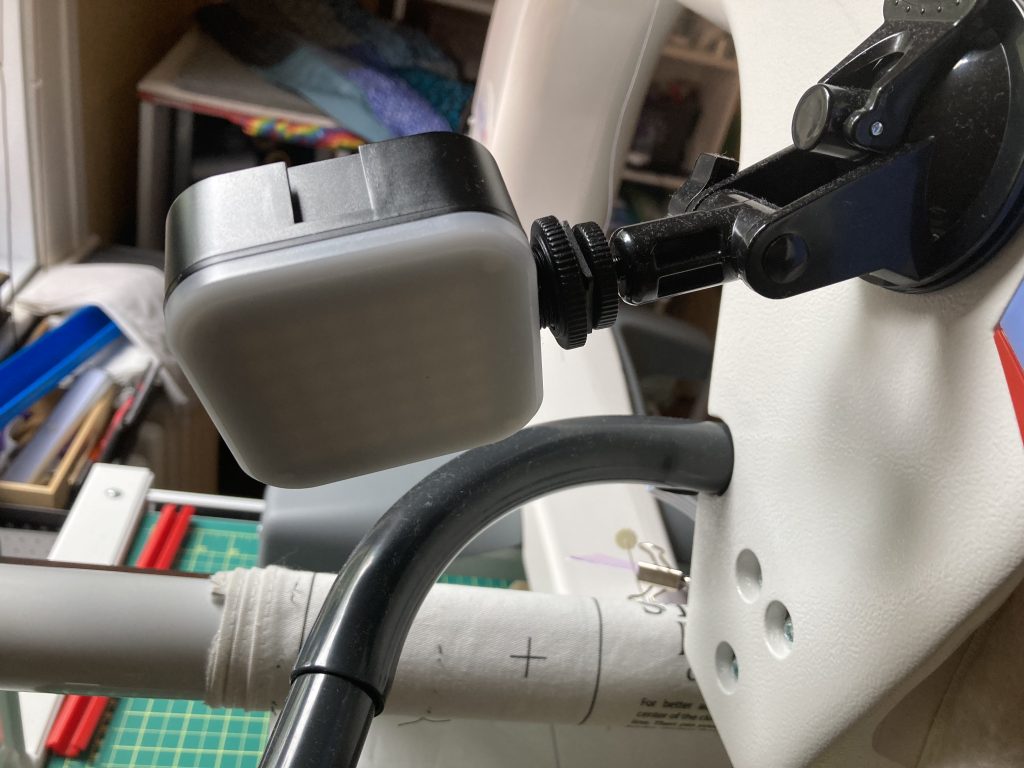
More longarm hacks: An easy light idea
The lighting in my room isn’t great so I experimented with different options over the past several months. It turns out the solution was in my office. A webcam light.
Some of the lights come with clamps, but the one I had used a strong suction cup to secure it to a surface. I attached it to the side of my machine and – voila – a great light aimed right at the quilting surface.
It has a rechargeable battery, so I just plug it into an outlet whenever I need.
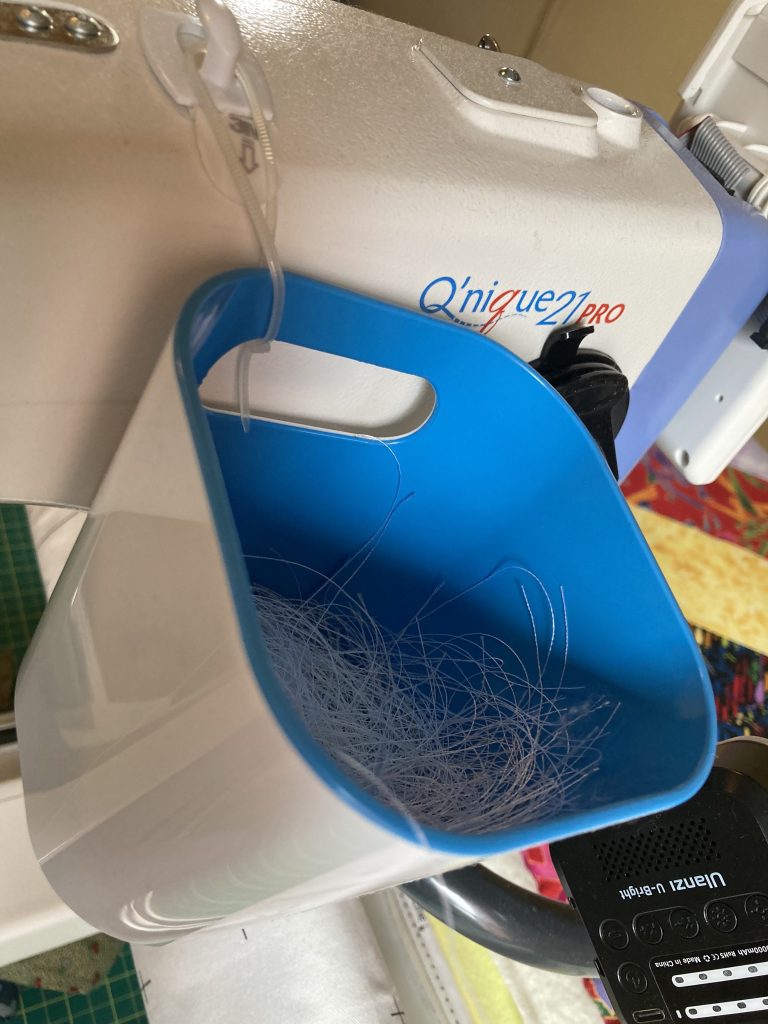
All those threads….
Longarm quilters have different longarm hacks for all their snipped threads – this is mine. I bought this small container from Ikea and threaded a small zip tie through the opening. After attaching a hook with a Command strip, I now have a convenient thread receptacle. (On my old machine, a Q’nique 15 pro, I looped the zip tie over the thread guide.)
Need a place for your needles or pins?
On my old machine, I’d looped a piece of batting around one of the handles close to the machine’s body, but that wasn’t as convenient with the 21 as the handles are different. So, I rolled up some batting, sewed it close at each end of the roll, and then attached it to the front of the machine with double sided tape. It’s out of the way and accessible at the same time.

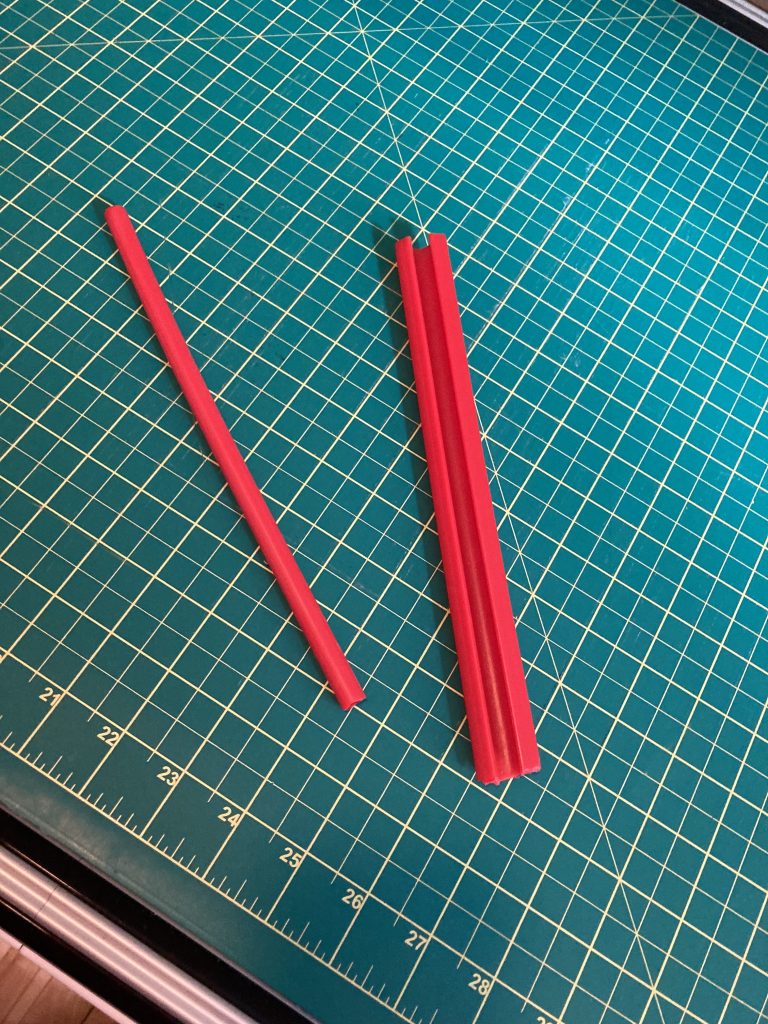
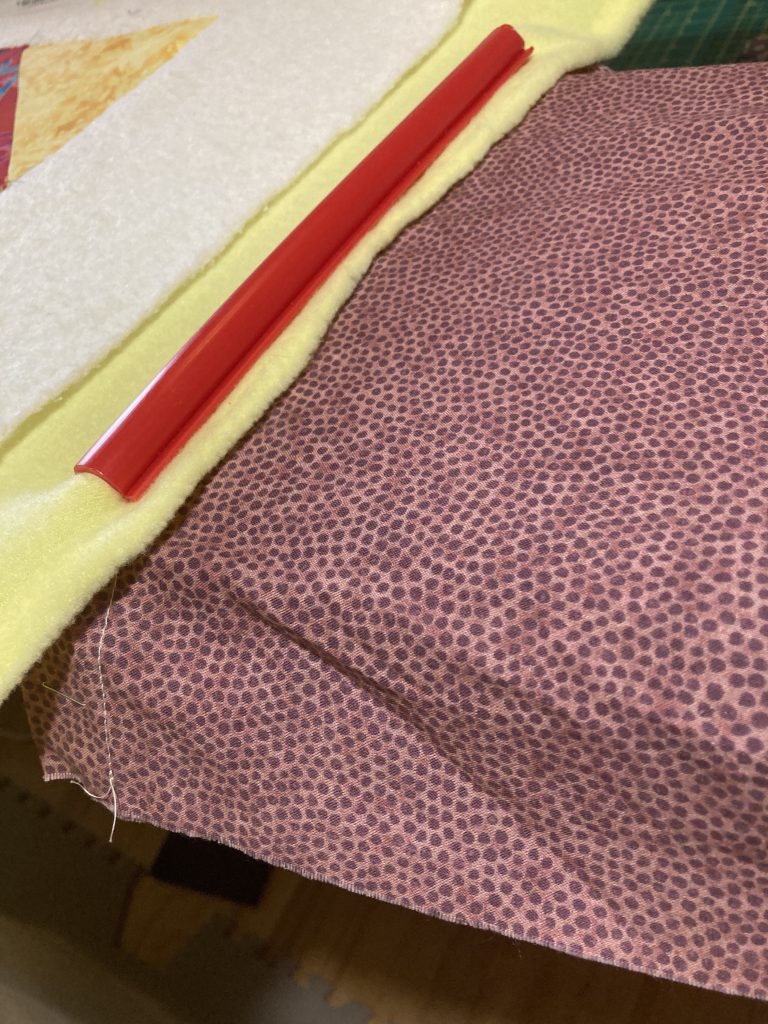
Not enough space along the side of your backing?
I use red snappers to hold my quilt backing to the leaders, but I had some extra, so I devised an extender of sorts. For this part, it’s probably best if you watch the video below, but I’ll try to explain it.
I cut the red snapper dowel and the covering snap-on part about 9 inches or so long. I cut two – one for each side of the quilt.
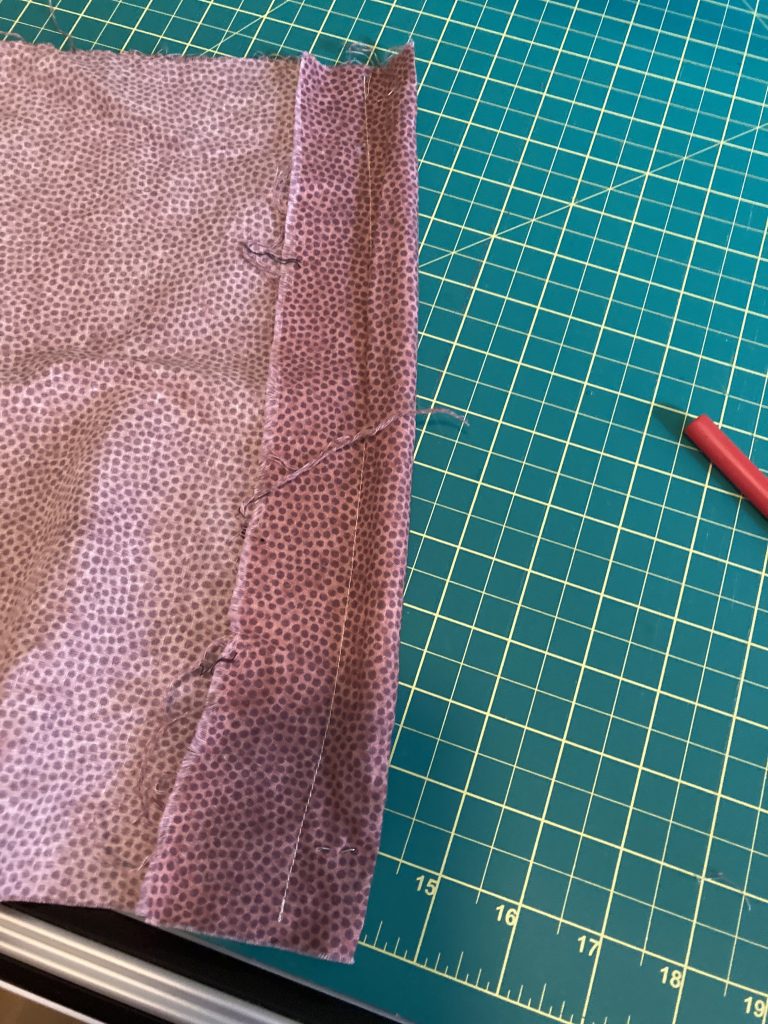
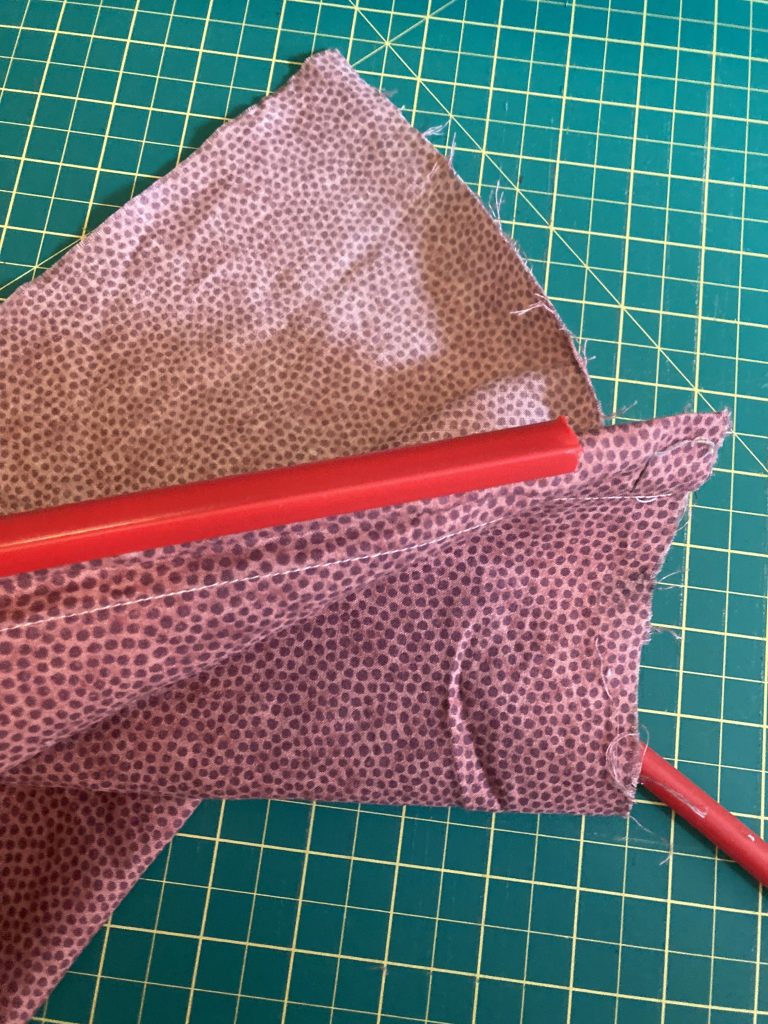
I then took two pieces of scrap fabric, about 12 inches by 14. I sewed a pocket along one edge of each, and slid the dowel, and then closed up the pocket. I actually used staples. J
You then use this rod by attaching it to the side of the backing, pull out the scrap fabric and attach that to your clamps.

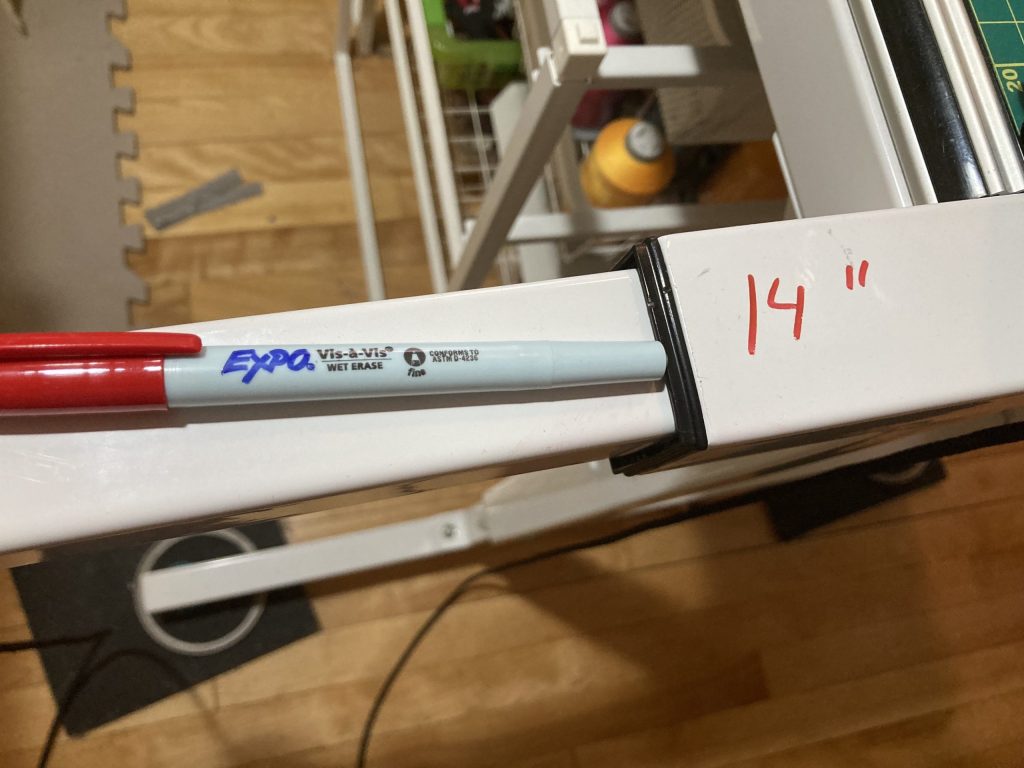
And a final note, one of my favourite longarm hacks….
You can leave notes to yourself on your frame. If you have a metal frame, you can use a water soluble marker to make notes to yourself, such as how far away from the edge the top should be as you roll it up.
I just realized, I wrote a post and did a video in January on preventing pin pokes.
So, that’s it for my hacks for today. Do you have any longarm hacks you would like to share?
Here is a video where I show the ones I just listed: